If you want to know how to clean a paint brush in the best way possible, you’re in the right place. I’ll show you one way to get it done.
What may surprise you is that some people tend to clean paint brushes the wrong way. This is usually done after they finish up a painting project. I know for a fact that my paint brushes will be used again and again.
So I make sure I clean them properly so they last longer and can easily be reusable. Besides, it’s a lot better doing this without having to dispose of them and spend more money on new ones.
I’m not sure how many painting projects you do on a regular basis. But it’s important to make sure you are using clean paint brushes if and when a project needs to be done.
With that said, we’ll discuss further on why you should clean your paint brushes:
Contents
Why should you clean a paint brush?
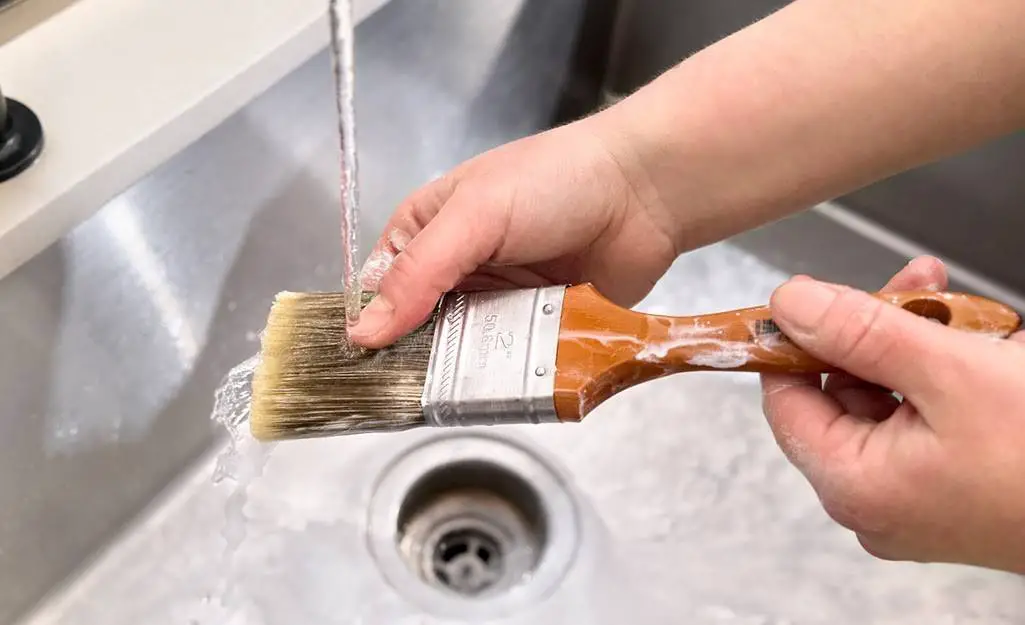
One of the reasons why you should clean a paint brush is to prevent imperfections. What I mean by this is that any dried paint left over from the brush will affect the work you are trying to do.
You’ll notice a lot of bumps and imperfections on what should be an otherwise smooth surface. The last thing you want to do is perform a paint job that will turn out unsatisfactory.
As mentioned earlier, another good reason why you should clean them is to make them last. Your brushes should last quite some time, even if they are used infrequently.
I’m someone who likes to use their paint brushes for as long as possible. Even if I do one painting project per year (either outdoors or indoors), having reliable paint brushes on hand is certainly better than having to go out and buy another one.
Finally, the bristles tend to misshapen if they are not cleaned properly. Once again, this can also lead to imperfection issues that you want to avoid.
How To Clean A Paint Brush
I’ll be showing you one of the best ways to clean a paint brush. I’ll also talk about what you need in order to get the job done.
What You Need:
Before we continue, you are going to need the following things: turpentine, mineral spirits, liquid dish soap (mild), spare washcloths, buckets, brushes/rollers, and newspapers.
Step-by-Step Cleaning Guide
-
Use any leftover paint
If you are painting, you’ll want to use as much leftover paint as you can. Otherwise, discard the excess paint onto an old newspaper you are using to prevent staining the floors.
The goal here is to remove as much paint from the bristles as possible. Once you know for sure the paint is off, move onto the next step.
-
Know your paint (and solvent)
Pay close attention to this next part, because you will need to use certain cleaning materials depending on the paint. Check the paint can to see what type you are using.
For example, if you are using latex paint, you can use a mix of hot water and mild dish soap. Otherwise, oil based paints will need turpentine or mineral spirits as the solvent of choice.
-
Stir the solvent
Now that you know what kind of paint you’ve used, it’s time to pour the solvent of choice into a container. Once filled, take the paint brush and stir the solvent for approximately ten seconds.
Squeeze the bristles on the side of the container a few times. Also, use your fingers to remove any excess paint (if you are using soap and water). If you are using turpentine or mineral spirits, I highly suggest using a brush comb.
Be sure to soak the brush once more if you are having a hard time removing any leftover paint (or if any of it is too dry to remove on its own).
-
Wash the brush in soapy water
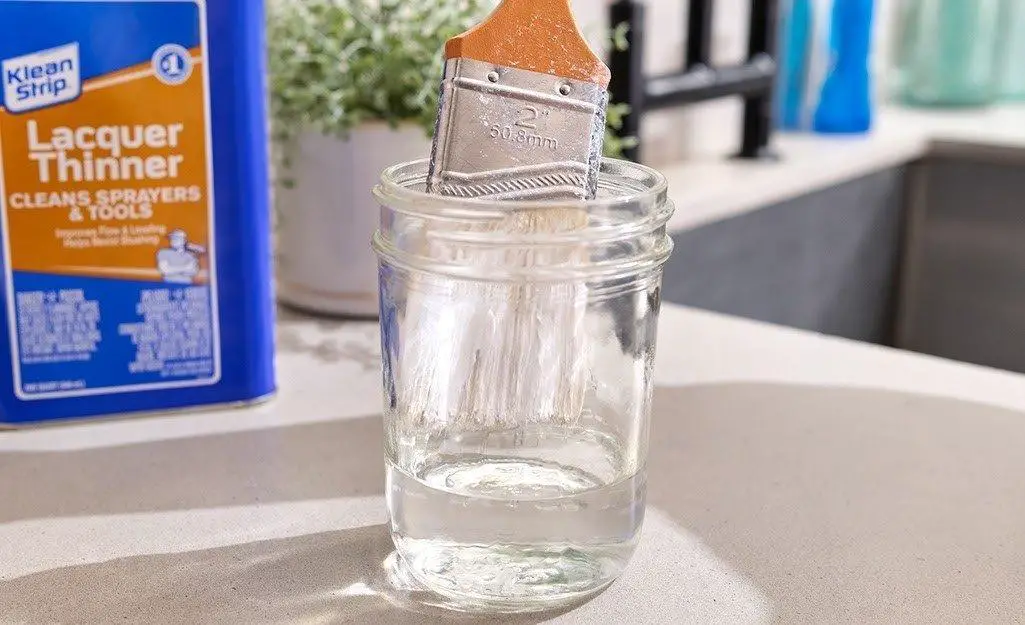
In a separate bucket, wash the brush with lukewarm soapy water. This will allow you to clean off any leftover solvent or dry paint.
Another idea worth considering is using vinegar. It can do quite a bit of work when it comes to removing dry paint.
The trick with this is putting the vinegar in a pot and boiling it. Make sure the brush is sitting in the pot while it’s boiling to ensure that the heat loosens up the dry paint.
Remove the pot from the stove and let it cool for a while. You can remove the brush using tongs, if needed.
-
Dry your paint brush
You can dry your paint brushes either by spinning or shaking them. Either way is fine.
Another way to do it is shake the brush and blot it dry on the old newspapers. You can also do it on a fresh washcloth as well.
-
Store the paint brushes
When storing paint brushes, you can either lay them flat or hang them. Either way, they’ll be able to dry soon enough. At this point, you should be finished.
Tips for using your paint brushes
Now that you know how to clean your paint brushes in the best way possible, here are some tips I’d like to share with you regarding proper use:
Always use different brushes
As mentioned before, you have latex and oil-based paints. You do not want to use the same paint brush for both paint types.
The reason for this is that oil and water do not mix. Use a brush that is specifically for oil-based paints only. Likewise, use a brush that will work well with water-based paints.
If you used one paint brush with oil paints, always use that brush if you are using such paints in the future. Do not use it with any other paint types (acrylic, latex, etc.)
Dampen your brushes
This tip applies if you are using acrylic paints. Be sure to dampen the brush before you add paint to it.
Know the type of bristles you are using
It’s important to know which bristles your paint brush has. That’s because it will work with certain paints.
For example, if you are using oil-based paints then consider using paint brushes with natural bristles. For acrylic paints, you’ll want to go with bristles made from synthetic materials.
Another thing to keep in mind is that synthetic bristles are easier to clean compared to natural ones. Once you have cleaned the natural bristles, dip them in oil to ensure that they stay soft for the next use.
Do not ignore the ferrule
Aside from the bristles, you want to make sure that the ferrule is also clean as well. If not, the bristles can splay out and thus cause issues with your next paint application.
Make sure the brushes are dried completely before storage
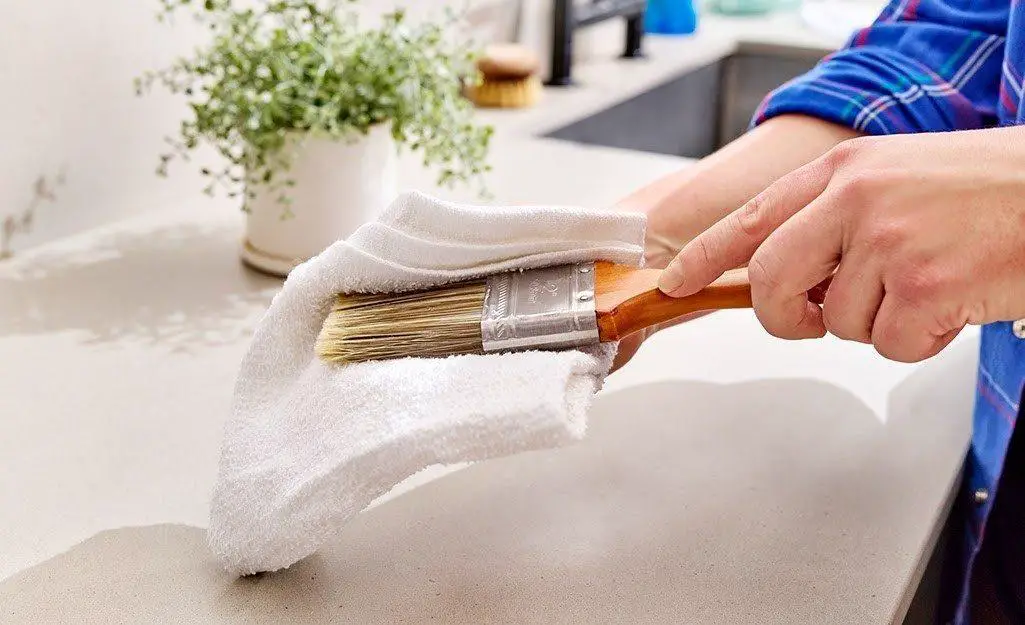
Before you store them in a container, make sure the brushes are dried completely. The reason for this is preventing any kind of mildew from building up.
Use mothballs when storing natural bristle brushes
Moths are notoriously known for their attraction to soft materials. So it’s no secret that natural bristles are one of them.
For this reason, you should consider placing mothballs near the storage area where you keep your natural bristle paint brushes.
Can you restore a paintbrush with hardened paint?
The short answer: yes. The long answer, a paintbrush can be restored even if most of the bristles are covered in dry paint.
To do this, it requires a similar set of steps. Let’s run down them really quickly:
-
Soak the bristles
Using warm, soapy water you’ll want to soak the bristles of the paintbrush. You can up the temperature of the water (but not too hot as it may damage the ferrule.
-
Add dish soap to the bristles
Lather up the bristles with a liberal amount of dish soap. Gently get it deep into the bristles so the dry paint can rub off easily.
-
Swirl brush into a glass jar of soapy water
Add warm soapy water into a glass jar. Then take the brush(es) and swirl them around vigorously. This will once again allow you to shake off any paint still left behind.
-
Rinse with warm water
Pretty self-explanatory. Rinse with warm water and make sure there is enough paint removed. Use a brush comb if needed.
Also, you can use a fabric softener to soften the bristles.
Conclusion
If you are looking to clean paint brushes the right way, this guide should help you out. I hope I was able to provide you with excellent tips on how to get the job done properly.
I always hate seeing good paintbrushes get ruined due to improper cleaning. Another thing to be aware of is that depending on the bristles, it may need to be cleaned a certain way.
Finally, I highly suggest that you use separate brushes for each type of paint you use. If you have used one brush with oil-based paints, don’t use it on any other type as it can make cleaning a problem.
Related Article
Best Electric Paint Roller


Leave a Reply