If you’re planning on painting a metal door, this guide is for you. I tend to be a perfectionist to an extent. Especially when it comes to DIY projects. Discover how to paint a metal door without brush marks in this helpful guide that includes a step by step process.
Painting a metal door might be a challenge. However, your main goal is making sure you don’t leave any brush marks behind.
If anything, you want to be real careful in not leaving unsightly brush marks that would ruin a perfectly good project. I’ll show you how to paint a metal door and make sure it turns out the way you want it.
How many painting projects have you done in your lifetime? If you have done many, you know that imperfections can be the bane of any project.
If you are a complete beginner at it, do not worry. This guide will be for you as you may find this to be an interesting project worth doing.
With that said, let’s dive in and talk more about painting metal doors:
Contents
Why Should A Metal Door Be Painted?

First off, a metal door may need to be painted because it may be in poor shape aesthetically. The door in its original form may have dealt with some of nature’s harshest elements.
The door could be chipping, peeling, or rusting. In that condition, it may not withstand as much as it used to. For this reason, it would make sense just to repaint it.
Weather-proofing and giving it an aesthetically pleasing look that you can be proud of. Plus, it can extend the life of your metal door.
As long as you follow the instructions below, you’ll be able to make the door look like new again. Let me stress that painting a metal door is not as simple of a task compared to painting a wall.
The project itself requires not just painting, but also sanding as well. I’ll talk more about what you are going to need for tools and equipment here shortly.
A Safety Note Before We Go On
Before I move on, let’s discuss something of importance. As much as I encourage you to perform a DIY task safely, this is something you want to be serious about. This pertains more to the environment.
If the steel door you’re painting has been painted before 1978, there’s a good chance the paint is lead-based. It’s important that you follow EPA guidelines by removing the old layer of paint before adding a new one.
Interestingly enough, there are many homes in the United States that still have lead paint. If you want to test any paint layers that may contain it, you can find out more information here.
I highly encourage you not to start painting a metal door until this test is complete. Otherwise, you can continue on and I’ll go over the steps of this project with you.
How To Paint A Metal Door
Now, I’m going to show you step by step how to paint a metal door. This is a project that I know you’re going to enjoy doing. Now that the testing for lead paint is done (assuming it was needed), we’ll dive right in.
What you need:
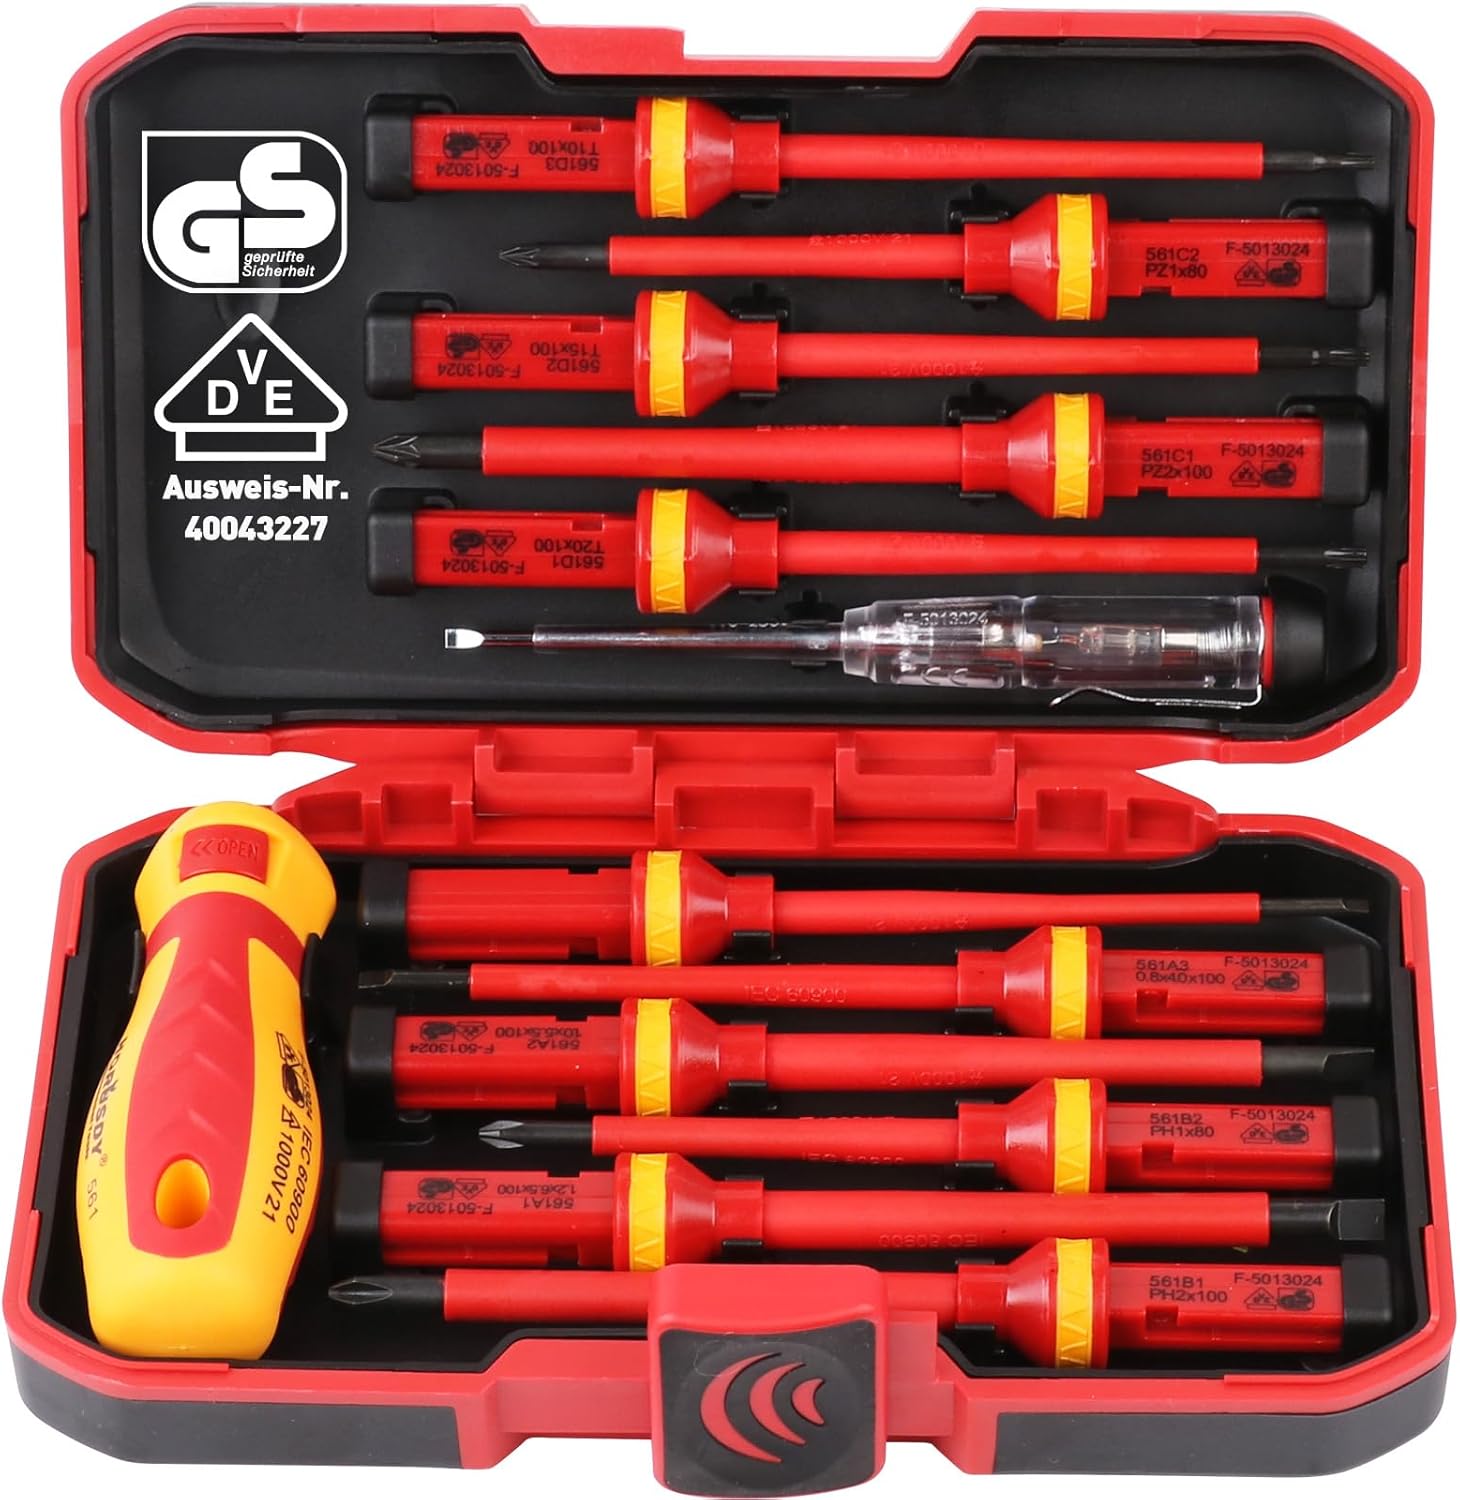
Here are the following tools and equipment you will need: Screwdriver, sawhorse, sponge, hammer, degreaser, dust mask, sponge, sandpaper (fine grit), orbital sander (optional), safety goggles, exterior primer, exterior paint (satin), painters tape, paint roller (trim size), small paintbrush, small paint tray, short-nap roller cover.
That seems like a lot. But these will definitely be the things you need. So let’s move on.
The Project
-
Remove the door
First thing you want to do is remove the door from its hinges. While it’s optional, I highly recommend removing it because it’ll be easier that way.
Plus, you don’t want to accidentally paint the door frame or anything else that might be in the way. Once removed, you want to lay it flat and in a horizontal position. You’ll notice that the paint will settle in better as opposed to running down while it’s in the vertical position.
-
Choose your paint

As mentioned earlier, you want to go with a satin paint. Another option to go with is an acrylic paint (preferably water based). Either way, these are paints that will work great when going up against the outdoor elements.
Also, consider which color you are getting. Always remember that the fall back color will always be white (since it blends in with almost every color under the sun).
I don’t ever recall a time where white didn’t go well with any interior or exterior paint job. Now that you have selected the paint, let’s move on.
-
Clean with a degreaser
While this is optional, this should help make things easier. Using a degreaser, wipe down the door. Then dry it with a towel once it’s finished.
-
Sanding the door
Now, it’s time to sand it down. At this point, you should have your safety gear on including a dust mask, gloves, and safety goggles. You can do this by hand or use an orbital sander (whatever is convenient for you).
What is the Fastest way to sand a door?
All I recommend is that you use fine-grit sandpaper regardless of which route you take. This will give you a chance to sand down any leftover paint layers including the imperfections it has had before (like brush marks).
Also, it helps to keep some extra sandpaper around since you will be needing it later on in the project.
Once sanding it complete, remove all the dust and debris in the area.
-
Apply primer and sand again
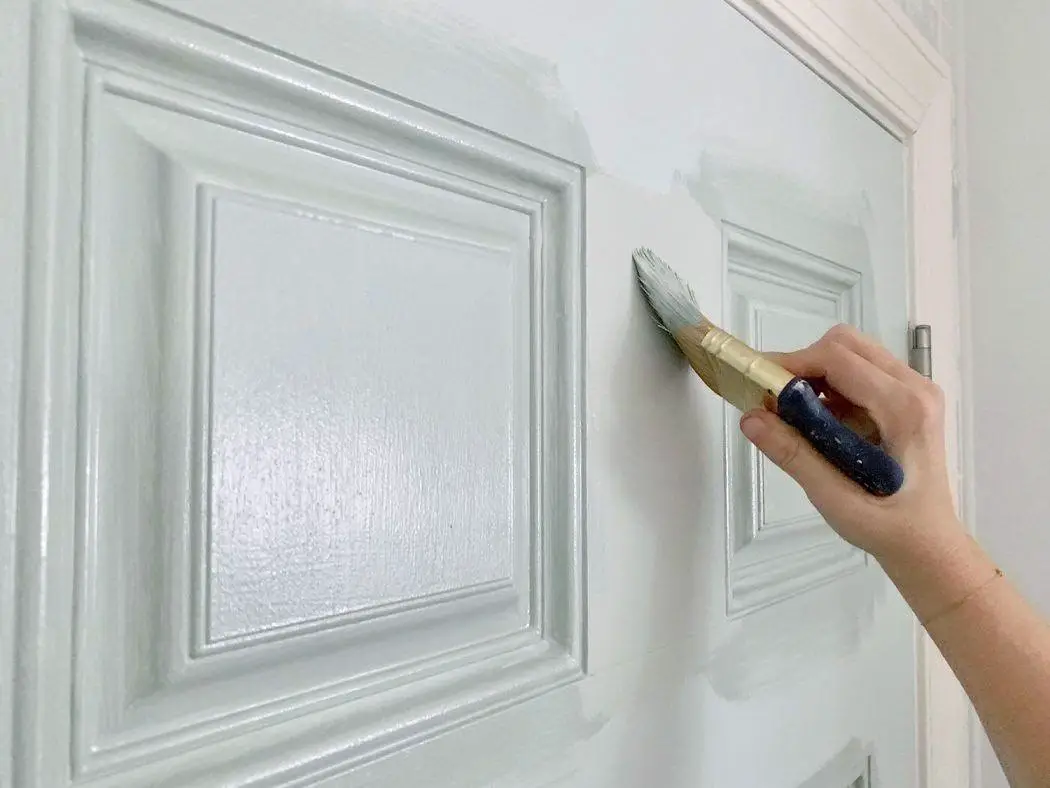
Next, you’ll want to add the first coat of primer. If the door is a smooth surface, a paint roller can get the job done. If the door has panels that are recessed, a small paint brush will be your best friend here.
Be sure to sand after every coat of primer using medium-grit sandpaper. I’d wait for the primer to dry first before sanding, by the way.
Next, apply the second coat. You may not need to do any sanding after that. If necessary, do so.
-
Add paint

Now here comes the fun part. Adding the paint.
The goal here is to at least apply two coats of paint to ensure the metal door is looking good. To add, I’m hoping you are applying this paint in a well-ventilated area such as an open garage or even outdoors.
Also, planning ahead is key since we can’t really predict the weather. Rain could destroy what could have been an awesome paint job.
But if you do get it done in the garage (assuming you have the space and enough ventilation), you can get started. Anyways, I almost forgot to mention the other object of this project.
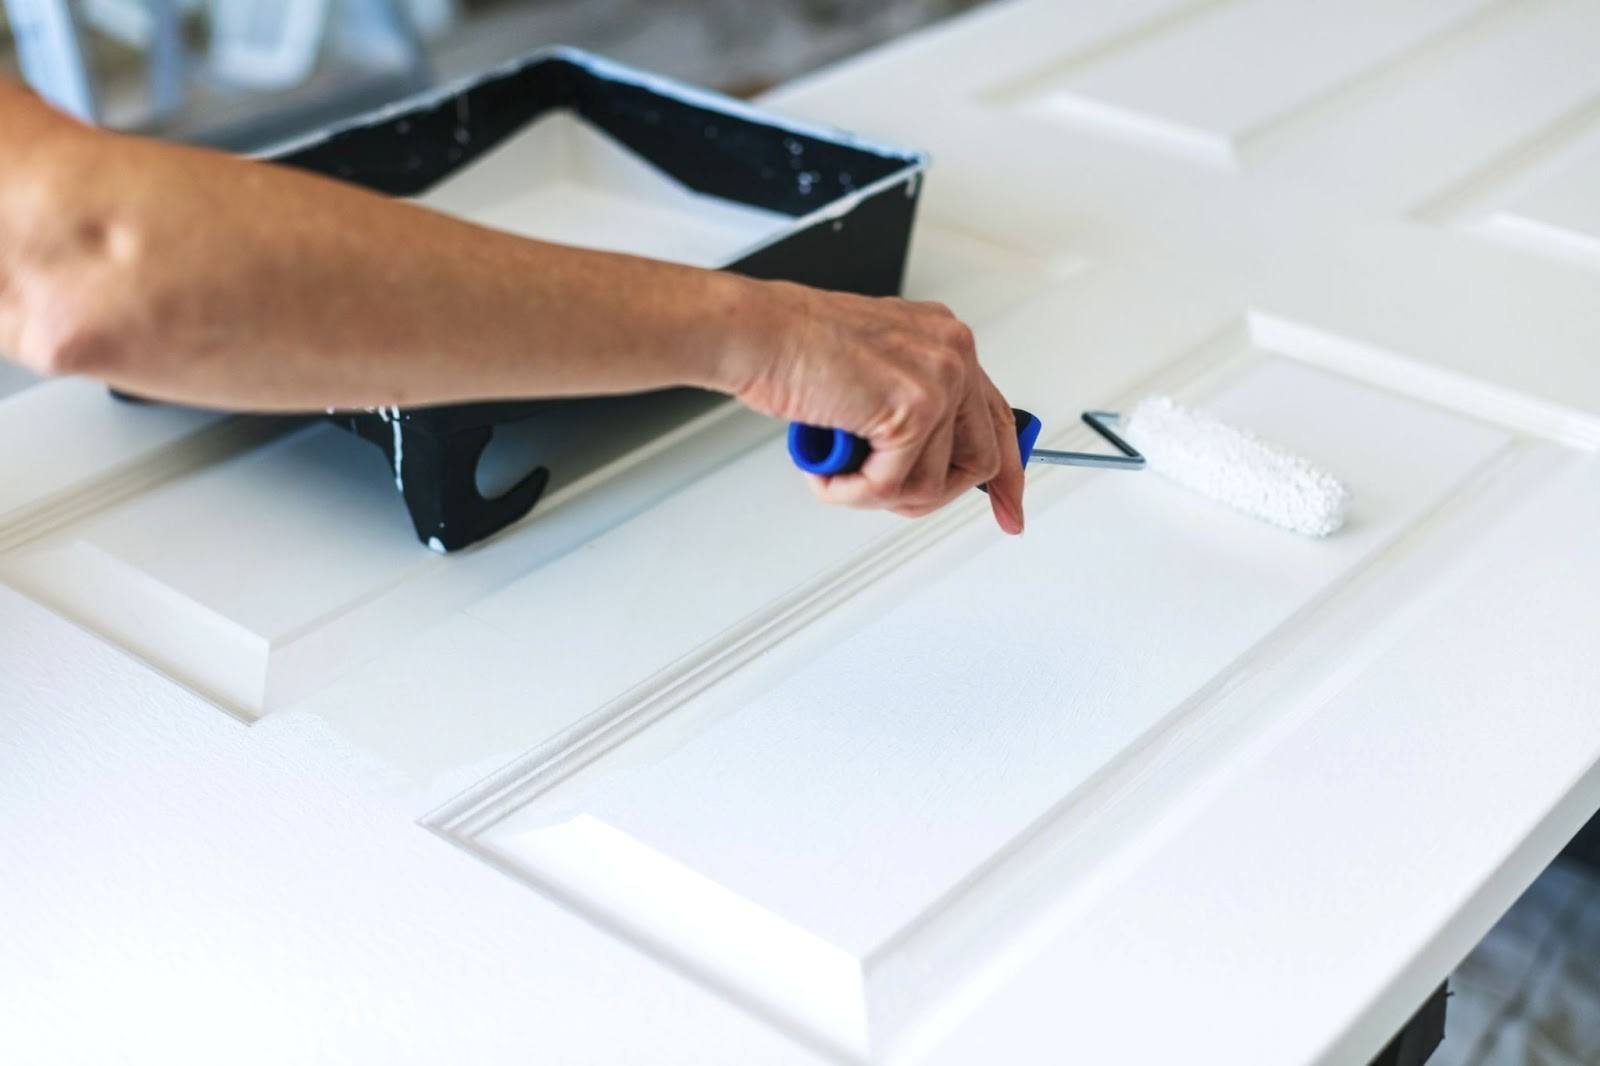
That’s performing this job without leaving brush marks. At this point, you no longer will need to use a paint brush. A paint roller will be your best friend at this point.
This is how the professionals do it. And it’s how you should do it going forward.
The reason for this is you will less likely leave bumps and imperfections behind. And yes, you won’t leave any brush marks either.
Paint in the direction of the door’s grain. Remember that each part of the door has grains going in different directions. Pay close attention to that.
I’d apply one coat of paint and let it dry for about 24 hours. After that, apply the second coating the next day.
I highly recommend starting each coat in the morning. The first one will dry overnight, prepping you for the second coating the next day (and dry up by sundown).
At this point, you can reattach the door back on its hinges, clean up your work area, and you are done.
Pro-tips when painting a metal door
Let’s take a look at some pro-tips that I encourage you to follow. As I have mentioned, you want to use a paint roller instead of a brush to ensure there are as little to no imperfections as possible.
Another thing you need to do is watch the weather. I’m not talking about the rain. I’m also talking about the heat and humidity as well.
If the outdoor weather calls for 90 degrees or low humidity, that’s going to be an issue. The paint will dry faster than it needs to and you’ll have very little time for leveling. Speaking of leveling, a high-quality paint that leaves a smooth finish should be the best option to go with when choosing paint.
Conclusion
I hope I was able to help you with this guide. Painting a metal door can be a challenge if you’re not trying to leave brush marks behind. What you’ve just learned was a way to get it done the same way the professionals do.
This DIY project will certainly save you money. It can also allow you to do a professional quality paint job within a couple of days. If you have a metal door to repaint, use the weekend to get it done.


Leave a Reply