
Fastest Way to Sand a Door – Step by Step Guide
1. Remove door hardware
Before you take off the hardware and set the door on sawhorses, you need to pad the sawhorses with cardboard.
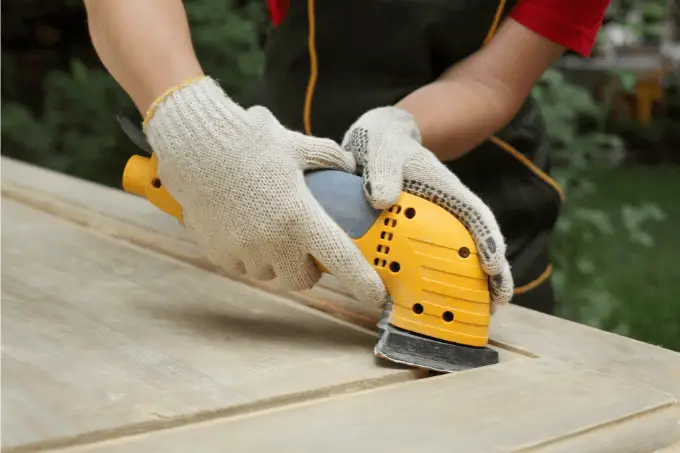
2. Sand the flats
With the door resting on padded sawhorses, use a random-orbit sander with 80-grit paper to quickly remove what remains of your old varnish and sun baked flakes.
Sand the wood again with 100-grit paper, then 120. There is no sense in going any finer. If you do than it will begin to close off pores in the surface which prevents finish adhesion and makes for an unsightly result.
3. Scrape the moldings
Small, razor-sharp scrapers are perfect for reaching into corners and across narrow profiles. They can also be used to remove wood from raised panels where rotary sanding isn’t an option because it would create too much dust that could damage surrounding areas without the protection; however there is always a chance of slipping up since you’re dealing with such fine blades (especially if using two hands).
To reduce this risk I like applying gentle downward pressure while working on both flat surfaces as well as edges.
4. Hand-sand profiles
When you’re done sanding, use a clean piece of 100-grit paper folded in thirds to rub the profile. Use long strokes back and forth along its length for best results! Vacuum up dust from inside corners where your fingers can’t reach – this will help protect against any scratches on the finish caused by debris getting trapped between layers while using harsh chemicals like bleach or polyPutty flood remover if needed.
5. Seal door edges before rehanging
When you’re ready to put the door back on its hinges, don’t forget about finishing. Apply a coat of finish over both the top, both side and bottom edges before reattaching it with screws. You will not be able to access these edges once the door is hanging on the hinges.
6. Choose a finish and apply first coat
Pour a little bit of finish onto your brush and dip about one-third into the liquid.
Gently paint over panels, moldings around it, then move out from there to horizontal rails next with some more attention given to vertical stiles lastly before letting everything dry overnight for best results!
7. Apply final coat and reattach hardware
After the finish has dried overnight, gently hand-sand it with 220 grit paper. You don’t want to sand through to bare wood so use caution when doing this step!
Once finished dusting off your newly painted door and wiping away any excess dust that may have accumulated on its surface using a tack cloth for extra cleanliness.
Time to give your project that final coat! Apply the second, letting it dry overnight. Sand down with 280 grit paper and finally put on the final coat of finish.
When that is dry – reattach the door hardware and enjoy your new door.
We hope that this article will help you to understand what is the fastest way to sand a door with incredible results.
Related Article


Leave a Reply