Nowadays, most people prefer hardwood stairs. A lot of the durability and resilience can be attributed to this standard wood since many different types are available for you to choose from. Which means there will always be a perfect match. In this article discover what kind of sander do I need to sand stairs on your next home improvement project.
Plus with color options, such as an array of stain colors from light browns all-the way up through deep reds; these staircases have been designed so that every homeowner has their ideal choice.
Most homeowners want something more customized than just some generic white risers against black railings around each newel post.
There really isn’t anything special about sanding those old stairs. You may want to sand down these beautiful pieces in order make them more appealing, but an upright floor sander isn’t possible due to access limitations.
Contents
What Kind of Sander Do I Need to Sand Stairs?
Hand-held random orbital
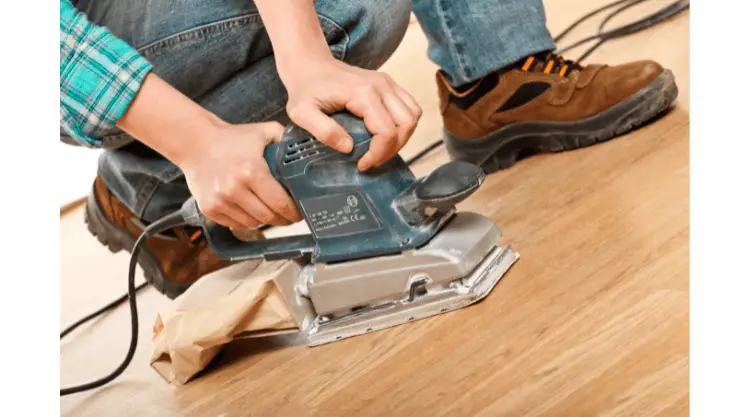
The hand-held random orbital power sander is the best choice for removing wood on stairs because it minimizes cross-grain sanding scratches. A flat spin disk revolves while you hold onto an upright handle, which makes circular revolution motions when turned on.
Palm Sander
You can use a palm sander on your hardwood stairs to achieve a nice surface for finishing. The rapid circular vibrations from this tool will smooth out any rough edges while achieving uniformity across all steps. Smoothing the rough edges help to reduce risk of cracks occurring during wear-and-tear over time.
Sanding Sponges
One of the best tools to have in your arsenal for stain removal is a manual sanding sponge.
These flexible sponges feature an outer coating that’s designed specifically with different grits, and some come equipped with angled ends which allow you extra reach when working around tight spaces or getting into corners easily.
Mouse Sander
You may also use a small contour sander with a triangular sanding pad, although it won’t reach some tight spots as well as a sponge sander will.
Sandpaper Grits
The sander you use to remove old finishes and prepare for refinishing your hardwood stairs is only as good as the sandpaper grit size. 80-grit disks are used in initial stages, while 120 or higher grades provide more intense cleaning before staining begins.
Bearing this information mind – make sure to always wear eye protection when using power tools because particles can fly off at any time.
Finish Work
After your wood is properly prepped and stained, it’s time for the final step.
Lightly sand down any raised grain with 120-grit paper before moving onto finer grits like 220 or 400 to bring up highlights in color that may be lost when using higher numbers of course grades.
After staining all surfaces – all sanding is done by hand with a sponge sander.
Polishing the stairs is a beautiful final step. Polyurethane or varnish will give you that flawless look, with just one more coat to go before they’re finished.
Sanding between coats might seem like an annoying task but trust me-it’s worth it. Your wood surfaces have no flaws at all on them.
Which Sander?
You will more than likely use a variety of sanding methods on your stairs to handle the large surfaces and to reach the small details areas. In the end you will be happy that you did the work yourself.
Related Article


Leave a Reply