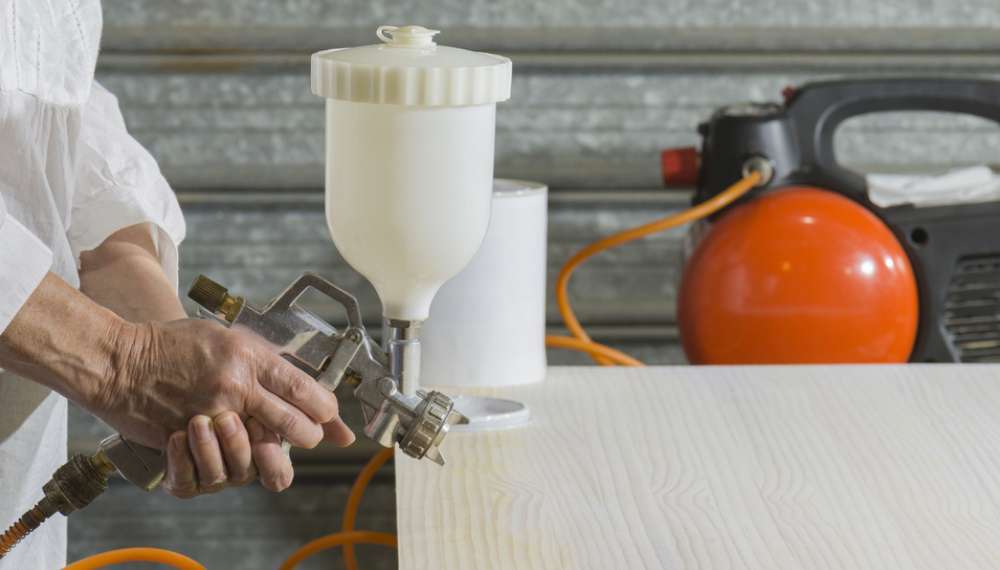
Are you a seasoned veteran painter or a beginner? What do you hate about the painting job? Is your painting job perfect? Yes, I know, rollers and paint brushes are tedious and time consuming. Fortunately, today I am here to give you a perfect alternative- using a spray gun with an air compressor to facilitate your painting project. Sounds fun, right?
Well, let’s start from the top! Painting with a roller or paint brush can be very tough and draining. Unless you are a veteran, chances are you will leave marks on your painted surface. Rollers and brushes require a lot of attention and experience for you to pull off the trick. In that case, I understand that you need all the help that you can get, especially if you are a beginner or you are looking to paint a large surface that requires utmost consistency.
I have been in the field of painting for over a decade and I believe that I am in a perfect position to help you learn how to use a spray gun with an air compressor.
Contents
What You Will Need
As is the case with almost all painting jobs, you have to gather all the tools and materials that you will need for the project beforehand. For this particular project, you will need:
Safety gears (include a respirator/ mask, goggles, gloves, overall and safety boots)Hose,A perfect air compressor for your spray gun,Every spray gun attachment. Filters, regulator, and fittings. Painter’s tape,Drop cloths,Waste bucket
Step 1: Preparation
I find that most people usually ignore this stage. It is understandable that if you are used to something, you gain experience and with time, you can skip some steps without dire repercussions. However, if you are a beginner, I recommend that you take this step seriously because it can save you from going round in circles.
In the preparation stage, start by picking the right paint thinner depending on your paint. If you are unsure, you can check the manufacturer’s instructions, which are usually indicated on the paint can or manual. I noticed that many spray guns work well with oil-based paints, but both acrylic and latex paints can do the trick.
Also, prepare the area to be painted. Tape off the adjacent areas that you don’t wish to paint and remove everything that you don’t need from the room. Lay your drop cloths on the flow and clean the area that you want to paint. Remove any loose debris and address any uneven areas accordingly.
Step 2: Connect the Spray Gun to the Air Compressor

Start by turning your air compressor on so that the air pressure can build to your preferred levels. If your air compressor allows, you can set the pressure levels and make adjustments to suit your project for the day. With the many brands of air compressors hitting the market, it is wise to always refer to the manuals if unsure of anything. This will save you a lot of time.
After your air compressor builds pressure to the desired levels, carefully connect your air hose to the compressor and fit tightly. In most cases, the air hose will have been connected with the spray gun beforehand. The air hoses are designed to fit tightly so that no air can possibly escape.
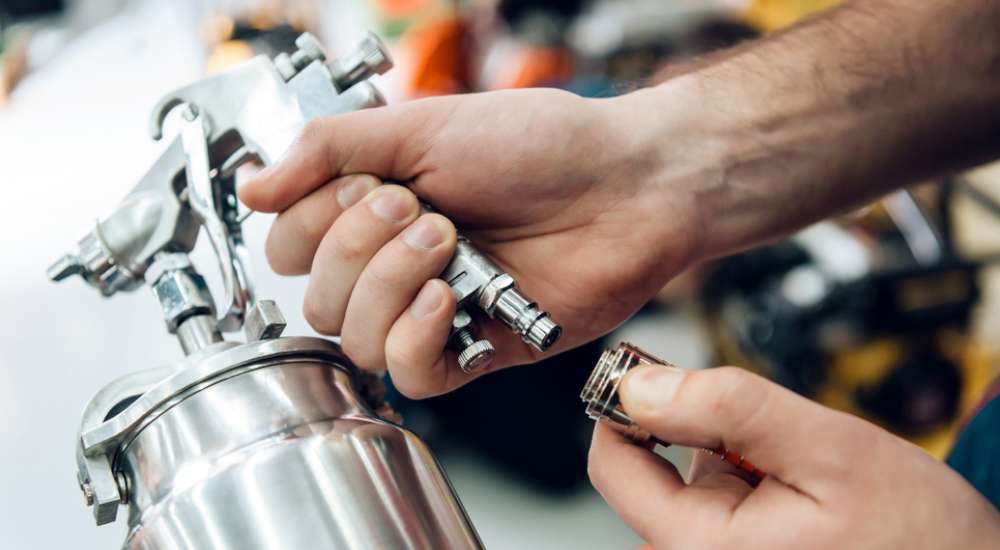
After connecting the hose to the air compressor, set your spray gun. Trigger the nozzle while aiming it at a waste bucket to remove the dust, debris or particles from the previous paint. If you press the trigger and nothing comes out, you might have to disassemble your equipment to find out the cause of the mishap.
Step 3: Start Spraying
With your paint mixed with a thinner in the required ratios, it is time to start painting. Press the trigger and start spraying while keeping the nozzle a safe distance (10-12 inches is fine) from the surface to be painted. This allows the paint to spread evenly and keeps the nozzle from clogging. Keep spraying as you move your hand constantly to avoid unevenness. Apply several coats until you get your desired results then allow the surface to dry.
Step 4: Turn Off Your Air Compressor and Clean Your Sprayer
If satisfied with your painting job, turn off the air compressor and detach every part that you connected in the beginning of the project. Clean the parts with plenty of water, rinse them and give them time to dry. This keeps them in perfect shape for the next project and makes them durable. If the dirt or stains are too strong, you might soak them in soapy water for a while before cleaning.
Pro Tips
Employing the following tricks and hacks when painting using a spray gun with an air compressor will help you navigate through your project easily and finish in record time with amazing results.
- Always gather everything that you will need for the project before hand
- Always put on protective gears
- Connect every part keenly, tightly and perfectly. This ensures that your equipment works perfectly. Regular breakdowns will slow you down.
- Pick a perfect paint thinner. The paint should come out of the nozzle consistently
- Move your spray gun consistently to avoid unevenness
- Always clean the spray gun and the hose after every use. This keeps the tools in perfect condition for your next assignment
- Always connect the cables correctly to avoid accidents
Conclusion
Rollers and paint brushes get the job done. However, when you need a little bit more consistency or you are working on a big project, a spray gun with an air compressor is your perfect alternative. With my experience in the field of painting, if you do everything correctly starting from the preparation stage right through to the end, you will have perfect painting results.
I have provided some “pro tips” for you to consider as well, they will help you get through your project quickly. If you are a beginner, following the provided steps and doing so consistently will take you right next to the pros.


Leave a Reply