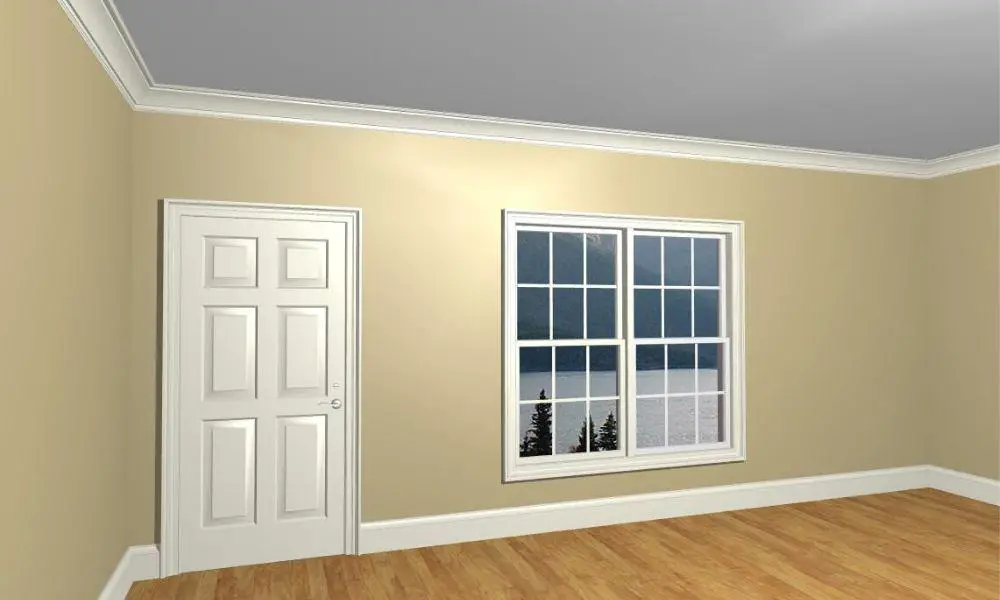
Interior ceiling and wall painting are made much easier with the use of a paint sprayer. Yes, the preparation time might be longer when compared to using a paintbrush or roller. However, it takes a short time to complete an interior spray painting project when using paint sprayers.
The advantage of using paint sprayers for spray painting walls and spray painting ceilings is that there are no dimples or brush marks. You will get a quality professional finish when you incorporate the right technique. In this guide, we will take an extensive look at how to spray paint interior walls and ceilings.

Contents
- 0.1 Required Tools
- 0.1.0.1 Masking tape
- 0.1.0.2 Interior emulsion paint
- 0.1.0.3 Masking tape
- 0.1.0.4 A scrap of cardboard
- 0.1.0.5 Paint sprayer
- 0.1.0.6 Paint stirring stick
- 0.1.0.7 Polythene dust sheets
- 0.1.0.8 Sieve
- 0.1.0.9 Cotton dust sheets
- 0.1.0.10 Bucket / Paint container
- 0.1.0.11 Safety goggles
- 0.1.0.12 Dust mask
- 0.1.0.13 Shoe covers
- 0.1.0.14 Coveralls
- 0.1.1 Before we start
- 1 How to prepare your walls for painting
- 2 How to prepare your paint for spraying
- 3 Using your paint sprayer to paint the ceilings
- 4 Using a paint sprayer to paint the walls
- 5 FAQ’s
- 5.1 What equipment do I need to spray paint interior walls and ceilings?
- 5.2 How do I prepare my room for spray painting?
- 5.3 What type of paint is best for spray painting interior walls and ceilings?
- 5.4 How do I spray paint the ceiling without making a mess?
- 5.5 How long does it take for spray paint to dry on interior walls and ceilings?
- 6 Final words on How to Spray Paint Interior Walls and Ceilings
Required Tools
Masking tape
Interior emulsion paint
Masking tape
A scrap of cardboard
Paint sprayer
Paint stirring stick
Polythene dust sheets
Sieve
Cotton dust sheets
Bucket / Paint container
Safety goggles
Dust mask
Shoe covers
Coveralls
Before we start
Understand that preparation is the key to an excellent finish when you spray paint interior walls with an airless paint sprayer. You must ensure that all the surfaces are clean and smooth before you start your project. The areas that you don’t need to paint should also be well protected from paint runs and spills.
In this guide, we aim to ensure that you get the best finish for your interior walls and ceilings. We understand that your home’s look is essential. This is, therefore, a step-by-step tutorial to ensure that your home gets the professional finish that it deserves.
How to prepare your walls for painting
Start by wearing your safety goggles and a dust mask before we start the process. You don’t want to breathe in paint particles when working on your project. The tiny particles can lead to severe health problems. Getting splashes of paint on your eyes can be rather dangerous, and you will need immediate medical attention. It is always a good idea to put safety first when working on any project in your home.
Yes, using a paint sprayer is usually cleaner when compared to a traditional roller. However, you need to put on a coverall or old clothes and shoe protectors to ensure that you don’t move paint to any unwanted parts of your home.
Preparing a room for paint spraying
To ensure you get a neat and clean finish, you will need to prepare your room adequately. Below is a step-by-step guide on everything you need to do to have your room prepared.
Step 1
You need to apply masking tape to all of the surfaces that you are not going to paint. In case you need to paint the ceilings only, then you will also need to cover the walls. Sometimes, you might need to paint different colors on the walls. In such situations, you will have to cover the other walls when you are painting walls on one side, Use polythene dust sheets to cover all areas that you don’t want the paint to reach. Hold down the dust sheets using masking tape.
In case you only need to paint one wall, then apply a protective sheet and masking tape to the adjacent wall to get you a neat edge. Doing this ensures that you won’t need a paintbrush to get you a beautiful finish on the wall corners when you are spray painting walls.
Step 2
It would help if you then covered all hardware fittings and fixtures, including radiators that can’t be done using masking tape and dust sheeting. The door and window frames will also need to be appropriately masked before you start your project. Move all furniture to the middle of the room so that you can cover them adequately. Moving all your furniture to the center of the room also gives you adequate space to move around while spray painting with a spray gun. Increased mobility ensures that you can get the work done quickly and effectively.
Step 3
Cover all the light fittings, heaters, sockets, and switches to ensure that no paint interferes with them. Understand that the paint particles can damage the electrical workings of the fixtures and fittings. You need to take your time during the preparation step to ensure that you get it done correctly. Yes, the preparation will take a long while, as stated earlier. However, once you are done, the painting process will take a shorter time when compared to using a paintbrush or roller.
How to prepare your paint for spraying
You need to dilute your paint when using a paint sprayer. However, you need to understand that the amount of dilution will depend on the viscosity of the paint that you want to use. There is, therefore, no standard amount of dilution required.
You need to test out whether the paint you plan on using needs any dilution first. If you need to dilute it, then you will have to follow the steps below.
Step 1
In case you plan on using paint that was previously opened for a different project, then you need to filter it out first to remove any lumps. Your paint sprayer can easily get blocked by chunks created from the paint skin. Use a sieve to filter out your paint and ensure that all lumps have been effectively removed.
Once all the paint is sieved, or if you have fresh paint can, you can proceed to stir the paint using your stirrer. While stirring, consistently lift your stirrer and observe how the paint flows off it. Only proceed to the following step when the paint runs freely off your stirrer without dripping off in globules.
Step 2
Fill your paint sprayer to the recommended level and test it out on the piece of cardboard. If you get a smooth finish without any clogging or splattering, then you can begin spraying your walls and ceilings.
However, if the paint spray won’t flow freely from the stirrer or paint sprayer, then you will have to carry out dilution. Check your paint to help you figure out the material that should be used to dilute it effectively. Water-based paint will need the use of water. Other types of paint will have an appropriate thinner recommended.
In case you are using water for thinning your paint, then ensure that it is at room temperature to give you the best consistency. Start by introducing 10% thinner or water to your paint-100 ml of thinner or water to 1 L of paint.
You will have to conduct a test spray of the spray pattern to figure out whether you have achieved the correct consistency. If you are not satisfied with the results, then add 5% increments of thinner or water until you get the right consistency. Do a test spray after every dilution because you don’t want to end up with over-diluted paint.
Test sheets
Some manufacturers will include a test sheet when you buy their paint products. These test sheets are meant to help you achieve the right consistency for your project. Using the provided test sheets will also ensure that you get to practice your spraying skills. After a few trials, you should be ready to begin painting your interior walls and ceilings.
The test sheets are particularly important when you are a beginner with spray paint. There is a learning curve when it comes to spray painting, as you might have realized by now. Finding a consistent spraying pattern that suits you ensures that you get a professional finish.
Using your paint sprayer to paint the ceilings
Painting your ceilings can be a simple task when you decide to use a paint sprayer. The technique is undoubtedly quicker than using a paint roller, which means that you will spend less time working at that problematic height.
Step 1
When you start painting the ceiling, move your spray gun in a parallel position at an even speed. Ensure that your nozzle is at a distance of about 15 centimeters from your ceiling at all times. Working in vertical lines will ensure that you finish the task quickly.
While working, ensure that your vertical lines overlap each other by about 30% to get you that even finish that you want. Repeat this process and work methodically until you finish spray painting your entire ceiling.
If you are using the same paint for your ceilings and walls, then spray right into the edges and corners. Doing this ensures that you eliminate the need to use a paintbrush after you are done spraying.
Step 2
Once you are done painting the entire ceiling vertically, repeat the whole process immediately but working horizontally. This technique is referred to as ‘cross-coating’ and ensures that you get a uniform and professional finish.
Step 3
You then need to give your ceiling a few hours to dry. The duration will depend on the type of paint that you are using. You can then proceed to apply more coats of paint as required. The number of layers you add will depend on your preference and the level of finish you need. Repeat steps 1 and 2 until you get the desired results. Exercise a lot of patience when spray painting your ceiling, especially when you need an excellent finish. Ensure that you work methodically vertically and horizontally with an overlap between the lines.
Using a paint sprayer to paint the walls
Painting your ceilings and walls will need a similar technique when using a paint sprayer. The difference between the two is the fact that you will need to pay extra attention to the corners and edges when you paint walls.
Understand that you will need to work around your fixtures and trims when painting walls. You will need to exercise extra caution when spray painting your walls, especially when you plan on using different color paints.
Step 1
Start painting your walls from the closest primary light source in that room. For example, start from the largest window in that room to help you get even paint coverage. You will need to move your paint sprayer at a steady speed while painting the walls.
Ensure that your sprayer is held at a distance of about 15 cm from the wall. Each spray should also overlap the previous line by about 30% to ensure that you get the best coverage in the room. Once you have completed the entire room working vertically, start re-coating horizontally immediately to get a better finish.
Step 2
The edges and corners can be spray painted quite easily using the same technique. Mask the surfaces and spray the edges and corners, moving from up to down. Masking the other areas ensures that you don’t need to cut in around the edges and corners. You get to save a lot of time, which means that the entire project will take a short time.
Step 3
Once you are done spray painting the walls, let them dry for a couple of hours. In case you need any additional coats, ensure that you repeat steps 1 and 2 until you get the best results.
FAQ’s
What equipment do I need to spray paint interior walls and ceilings?
To spray paint interior walls and ceilings, you’ll need a paint sprayer, the paint of your choice, a paint strainer, a step ladder for higher reach, protective material for the floor and furniture (like drop cloths or plastic sheets), painter’s tape to protect baseboards and windows, and personal protective equipment such as goggles, masks, and gloves.
How do I prepare my room for spray painting?
Before spray painting, remove or cover all furniture and fixtures, and protect the floor with drop cloths or plastic sheets. Tape off baseboards, door and window frames, and any other areas you don’t want to paint. Also, clean the walls and ceiling to ensure the paint adheres properly. Always ensure the room is well-ventilated.
What type of paint is best for spray painting interior walls and ceilings?
Latex paint is commonly used for spray painting interior walls and ceilings due to its durability and easy cleanup. Choose a sheen based on your preference – flat, eggshell, satin, semi-gloss, or gloss – each has its advantages and considerations.
How do I spray paint the ceiling without making a mess?
When spray painting the ceiling, start by ensuring all surfaces and objects are adequately covered or removed. Use a spray gun extension to avoid unnecessary drips and maintain control. Always keep the spray gun perpendicular to the surface and maintain a consistent speed to avoid uneven coverage.
How long does it take for spray paint to dry on interior walls and ceilings?
The drying time for spray paint can vary depending on the type of paint, the thickness of the application, and the environmental conditions. Generally, latex paint used on interior walls and ceilings will dry to the touch in a few hours but wait at least 24 hours before applying a second coat or removing any tape. Always refer to the paint manufacturer’s instructions for specific drying times.
Final words on How to Spray Paint Interior Walls and Ceilings
I hope that you have enjoyed reading the steps entailed in spray painting your walls and ceilings. All the steps and interior painting tips highlighted in this guide are essential when you need to get the best finish. I understand that you need a professional finish, and you can only achieve this if you follow the steps highlighted above.
Feel free to share this article with friends and family who are thinking of spray painting their walls and ceilings. Use the comment section to give us your feedback on how your interior spray painting project went. We would love to hear from you.


Leave a Reply