7 Steps To Properly Mix Paint For A Spray Gun

7 Steps to Properly Mix Paint for a Spray Gun

Regardless of whether you prefer DIY or you are a professional painter, getting the correct mixture of paint is inevitable if you are to get some amazing painting results. The smoothness and color of your painting project will depend on how well you mix your paint. Fortunately, the procedure of paint mixing is not at all a hard one. For over a decade, I have been actively involved in so many painting projects and I can tell you there are a lot of other complex things in the industry than mixing paint for a spray gun. 

However, I do not want to leave anything to chance so I am going to provide you with 7 steps to properly mix paint for a spray gun through this article.

1. Preparation

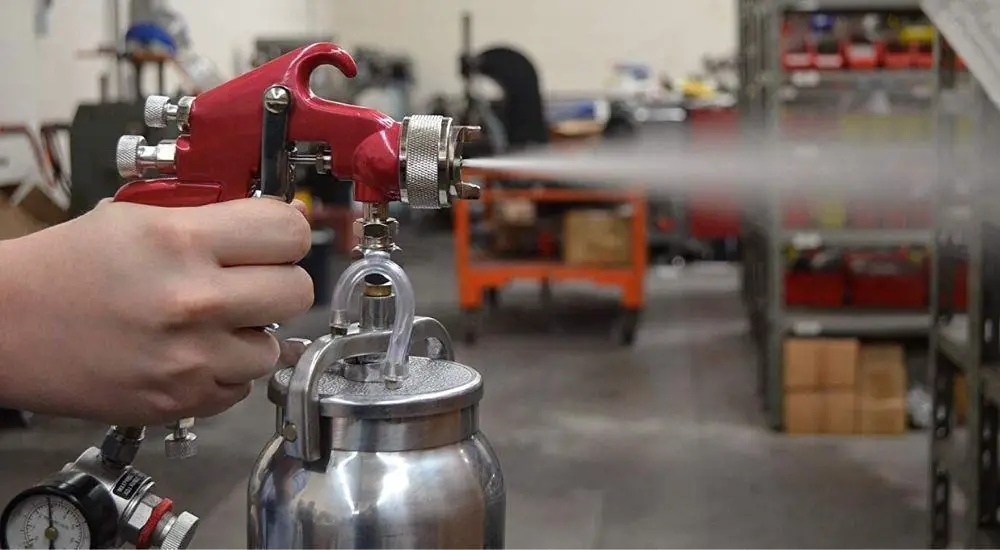
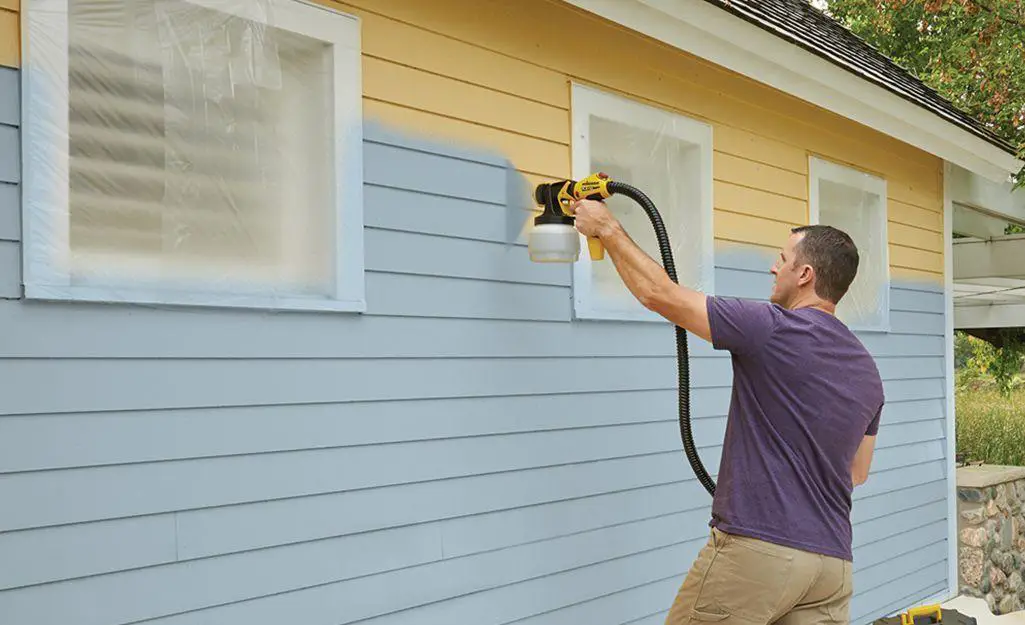
Just as is the case with many other things in life, the preparation stage when mixing paint for a spray gun is very important. To have that mixture that easily flows through the nozzle, you must have all the tools and materials needed to facilitate the process. For most painting jobs, you will need some basic painting tools/requirements and materials such as water, paint sprayer, paint strainer, thinner, face mask, sprayer tips, test board, and safety goggles. 

It is also at the preparation stage that you get to pick your desired type of paint depending on your project and the color that you want to achieve. In most cases, the paints’ manufacturers will indicate how each paint is used so be careful to read the guides before signing up for anything. Some of the most common paints include latex paints and oil-based paints.

Finally, you should always make sure that your working space is free from dust, dirt and other particles that may fall into your paint mixture and cause complications.

2. Put on Protective Gears

Mixing of paint is a lot riskier than it sounds on paper. For that reason, it is important to put on your protective gears before starting the procedure. These gears include (but not limited to) goggles, gloves and face mask. As their name suggests, protective gears are meant to protect your body from injuries and chemical reactions that may occur when mixing the paint for a spray gun. For instance, oil-based paints are known to produced toxic fumes that can only be prevented from reaching your lungs through the use of a face mask.

3. Paint Straining

In most cases, when you purchase a paint, most of the contents will have settled at the bottom of the container. When in this state, the paint forms lumps that may clog the spray gun if not properly strained. To go around this, pour the contents in the container into a strainer and throw away the residues on the filter. You will then use the filtered paint to paint without fear of clogging or inconsistent flow.

4.Taste the Paint

Straining the paint alone is not a guarantee that you have the perfect ingredients for a perfect mixture. Use a test board to ascertain that you bought the right quality of paint and it is suitable for your project. Simply take a small amount of paint and spray on a test board then observe the quality of the application and the consistency. A good paint should easily flow onto the surface evenly with the right consistency while highlighting the expected color.

However, if a paint does not flow naturally and displays a slightly different color from the one indicated in the manual, you might have to mix with a thinner for better results. remember, it is not always that you have to mix the paint with the thinner and the decision you make entirely depends on your judgment of the paint after straining. 

5. Mix the Paint

After putting on the right gears, straining the paint and testing it to ensure that it is fit for your project, the next step is mixing the paint for a spray gun. First, take a bucket and pour your paint (the amount depends on how being your painting project is). Depending on the type of paint you chose, you should then add water, thinner or any other suitable chemical in small amounts as you proceed. Again, there is no specific amount of water, thinner or chemicals that you are supposed to add to your paint. Everything at this stage depends on your judgment and how consistent you want the mixture to be. However, in my experience, I have discovered that the rule of the thumb is to add a quarter cup of water for every single gallon of paint. For oil-based paints, begin with adding a small amount of thinner until you get your desired consistency. 

6.Test the Mixture

When you are certain that you have achieved your desired consistency, it is time to test the mixture to see if it is suitable for your project. Even though many established painters ignore this stage, it is very important because it can save you from ruining the entire project especially if the mixture is not as consistent as you first thought. Simply take a small sample of the mixture and paint it on the test board then observe. If the consistency of the paint mixture is not appealing, you should go back to adding a little thinner or water depending on the instructions given.

7. Transfer the Mixture to a Spray Gun

This is the final stage. After ascertaining that you have a perfect paint mixture, it is time to transfer it into the spray gun. There isn’t really a special trick or hack about this. Simply pour the mixture into the spray gun carefully and you are ready to go.

Remember to clean your spray gun once you are done painting to increase its durability and ensure that it works in top condition always.

Conclusion

How you mix your paint for a spray gun hugely determines whether you will be successful in your quest or otherwise. The 7 steps to properly mix paint for a spray gun provided in this article will go a long way into ensuring that you have a mixture with the right consistency and flow. 

Leave a Comment