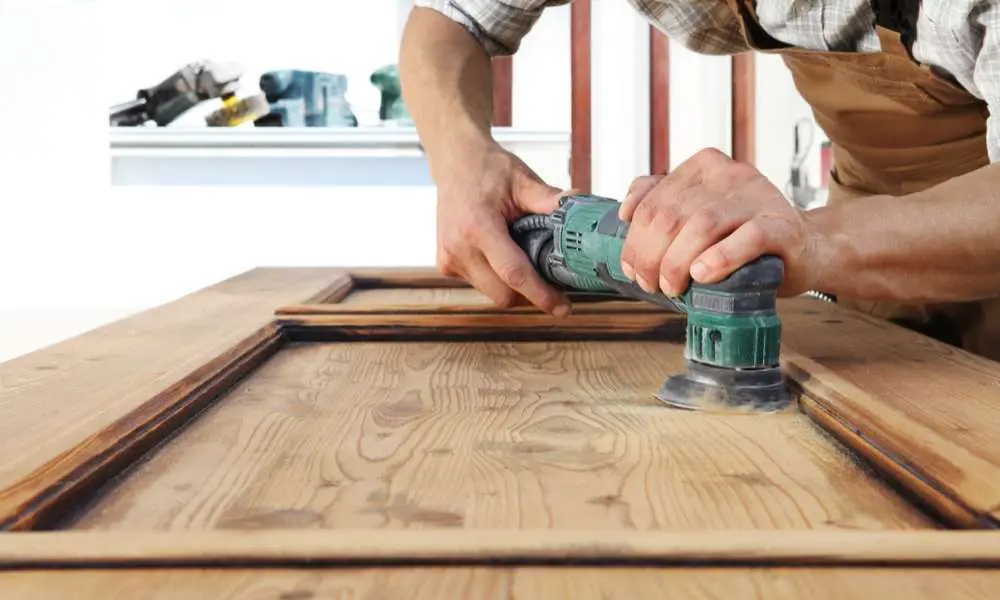
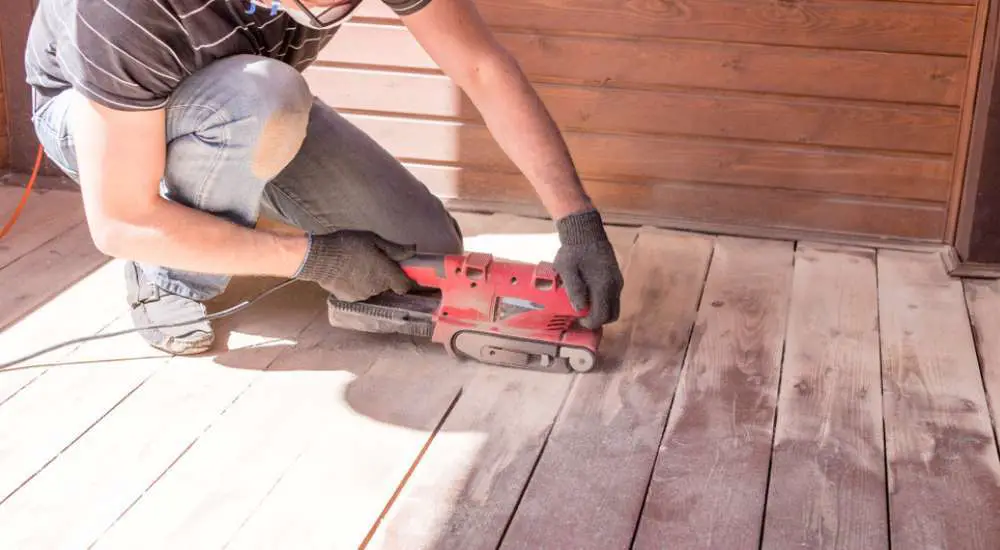
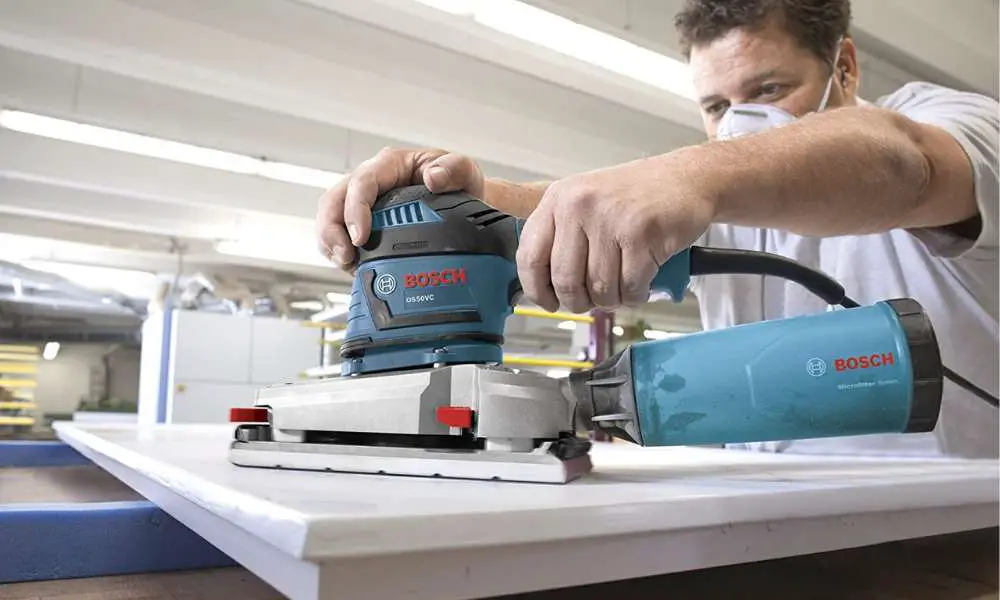
A random orbital sander is a versatile and efficient power tool used for creating a smooth surface on a variety of materials like wood, metal, and plastic. The unique dual-action motion of the sander, which combines a basic rotation with an oval orbit around the pad’s Z-axis, prevents the formation of visible sanding marks and offers a professional finish. It is essential to be familiar with the proper usage, safety precautions, and maintenance of the tool to achieve optimal results and ensure the longevity of your random orbital sander.
Before using a random orbital sander, it is crucial to dress appropriately for the job, including wearing safety gear and proper attire to prevent injury. Preparing the surface for sanding involves selecting the right sandpaper grit and attaching it to the sander’s pad, as well as inspecting the workpiece to address any potential issues that might arise during the sanding process. When operating the random orbital sander, moderate pressure and consistent motion across the surface are necessary, while keeping in mind that over-sanding or under-sanding can lead to an uneven finish and even damage to the workpiece.
Contents
- 1 Safety Precautions
- 2 Overview of Random Orbital Sanders
- 3 Preparing to Sand
- 4 Using the Random Orbital Sander
- 5 Post-Sanding Steps
- 6 Troubleshooting Common Issues
- 7 Maintaining Your Random Orbital Sander
- 8 Frequently Asked Questions – How to Use Random Orbital Sanders
- 8.1 What safety precautions should be taken when using a random orbital sander?
- 8.2 How do you correctly operate a random orbital sander for woodworking projects?
- 8.3 What are the ideal settings for a random orbital sander when working on different materials?
- 8.4 Can a random orbital sander be used on drywall, and if so, how?
- 8.5 Is it necessary to apply pressure when using a random orbital sander?
- 8.6 What is the distinction between a random orbital sander and a regular orbital sander?
Key Takeaways
- A random orbital sander’s dual-action motion provides a professional finish on various materials
- Proper safety gear, attire, and surface preparation are essential for effective sanding
- Consistent motion and correct pressure maintain the quality of the sanding process.
Safety Precautions
Personal Protective Equipment
When using a random orbital sander, wearing the appropriate personal protective equipment (PPE) is vital. It is essential to wear safety glasses to shield your eyes from dust and debris. A dust mask or respirator is recommended to protect your lungs from inhaling fine particles. Additionally, using ear protection like earplugs or earmuffs can help reduce noise levels and protect your hearing. Wearing work gloves can prevent blisters and improve your grip on the sander while sanding. Safety tips for working with an orbital sander cover these points in more detail.
Proper Handling
Understanding how to handle the random orbital sander is crucial for both your safety and the quality of your work. Here are a few tips:
- Maintain a firm grip on the sander at all times.
- Never apply excessive pressure on the sander; let the device do the work.
- Keep the sanding pad flat against the surface to avoid gouges and uneven sanding.
- Ensure the sander is turned off and unplugged before changing sandpaper or making adjustments.
Refer to these 6 basic steps for more information on using a random orbital sander.
Workspace Safety
A clean and organized workspace is essential for preventing accidents and maintaining efficiency. Consider these tips for workspace safety:
- Dust Collection: Connect a vacuum or dust collection system to your sander to minimize airborne particles and maintain a cleaner work environment.
- Clutter-Free: Keep your workspace clear of obstructions, like cords or loose items, to reduce the risk of tripping or dropping the sander.
- Secure Materials: Ensure your workpiece is securely fastened to a stable surface, like a workbench, to prevent unwanted movement during sanding.
- Good Lighting: Proper lighting is essential for better visibility and reducing the risk of accidents while using a random orbital sander.
More workspace safety considerations can be found in this random orbital sander guide.
Overview of Random Orbital Sanders

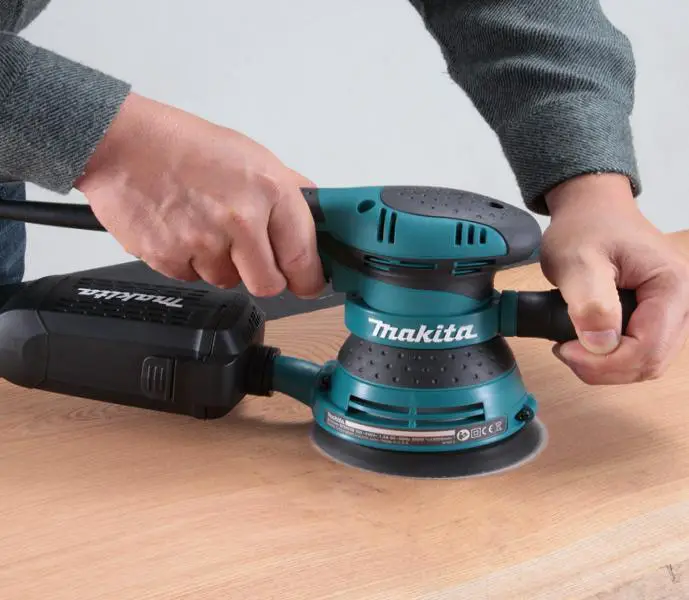
Random orbital sanders are versatile power tools used for creating a smooth surface on plastic, metal, or wood, making them ideal for various finishing projects. They utilize a round sandpaper disc attached to a head that moves in two distinct patterns: simple rotation and an oval orbit around the Z-axis of the sander, which helps prevent sanding marks on the material.
Types of Random Orbital Sanders
There are mainly two types of random orbital sanders: electric and pneumatic.
- Electric Sanders: These sanders are the most common and are powered by an electric motor. They are widely available and suited for most DIY and professional projects. Electric sanders come in both corded and cordless versions, offering varying levels of power and convenience.
- Pneumatic Sanders: Pneumatic Sanders are powered by compressed air from air compressors, making them lighter and more powerful than electric variants. However, they require a connection to an air compressor which can limit mobility. Pneumatic sanders are often used in professional and industrial settings where consistent power and speed are crucial.
Key Features and Specifications
When choosing a random orbital sander, consider the following important features and specifications:
- Motor Power: Measured in amperage (amps) for electric sanders or cubic feet per minute (CFM) for pneumatic sanders, higher values indicate more power.
- Orbits Per Minute (OPM): The speed at which the sanding head oscillates, indicated in orbits per minute. Higher OPM values allow for faster material removal but may sacrifice the finish quality.
- Sanding Disc Diameter: Common sizes include 5-inch and 6-inch discs, with larger sanders often providing faster material removal over broader areas.
- Dust Collection: Random orbital sanders generate significant amounts of dust, so an efficient dust collection system helps to maintain a clean work environment.
- Variable Speed Control: The ability to adjust the sander’s speed, allowing for more delicate sanding operations when working with different materials or achieving a specific finish.
Keep these factors in mind when selecting a random orbital sander for your projects, as they can greatly affect the ability to achieve desired results.
Preparing to Sand
Material Setup
Before using a random orbital sander, make sure your workpiece is clean and free of debris. Wipe the surface with a damp cloth to remove any dust or dirt. Then, inspect the material for any defects or cracks that may need repairing. Clamping your workpiece securely to a stable surface will prevent it from moving during sanding woodsmithspirit.com.
Selecting Sandpaper Grit
Choosing the right sandpaper grit is crucial for achieving the desired finish. Sandpaper grits typically range from coarse (40-60 grit) for removing material quickly, to medium (80-120 grit) for smoothing surfaces, and fine (150-220 grit) for final finishing. Start with a coarser grit and gradually move to finer grits for a smooth, polished look. Consult the orbital sander’s manual to determine the appropriate sandpaper grit for your project.
Attaching the Sanding Disk
Properly attaching the sanding disk ensures that your sander operates efficiently and safely. Make sure the sander is unplugged and follow these steps:
- Align the holes on the sanding disk with the dust collection holes on the sander’s backing pad.
- Press the disk firmly onto the backing pad to secure the hook-and-loop or adhesive connection.
- Double-check that the sanding disk is centered on the backing pad to prevent uneven wear and tear 3M™ Random Orbital Sanding Basics.
Your random orbital sander is now prepared for use. Follow proper safety guidelines, such as wearing a mask, goggles, and ear protection while operating the sander.
Using the Random Orbital Sander

Powering On/Off
Before using a random orbital sander, ensure you’re wearing proper gear such as safety glasses, ear protection, and a dust mask. To power the sander on, simply press the power switch, which is typically found on the side or top of the tool. Some sanders may have a safety lock feature that needs to be activated before the sander can start. To power off the sander, press the power switch again, and ensure the sanding pad comes to a complete stop before setting it down.
Sanding Technique
When using a random orbital sander, move at a slow pace, approximately 1 inch per second. This allows the sander to create randomized scratches on the surface, which helps achieve a smooth finish. Avoid rushing and making back-and-forth movements as it may result in swirl marks. Maintain a steady speed and let the sander glide on the surface without applying excessive pressure.
Applying Pressure
It’s important not to apply too much pressure when using a random orbital sander. The weight of the sander is usually enough to provide proper contact with the surface being sanded. Applying excess pressure can cause uneven sanding and shorten the lifespan of the sanding pad. Also, excessive pressure may lead to fatigue and make it difficult to control the sander, which may impact the overall quality of the finish.
Working on edges and corners might require a careful approach. Aim to keep at least half of the sanding pad in contact with the surface to maintain control. Tilting the sander or using only the edge of the sanding pad could result in uneven sanding or damage to the surface. For tight corners or intricate details, consider using additional sanding tools such as a detail sander or sanding blocks to achieve a more precise finish.
Remember to always follow the manufacturer’s guidelines for the safety and proper usage of your random orbital sander.
Post-Sanding Steps
Once you have finished sanding with your random orbital sander, it is essential to complete three key post-sanding tasks: Reviewing the Work, Sanding Disk Maintenance, and Cleaning up the Workspace.
Reviewing the Work
After sanding, carefully inspect the surface to ensure a smooth and even finish. Look for any marks, scratches, or inconsistencies that may require further sanding. Take your time during this step, as thoroughness is crucial for a professional outcome. If needed, use a bright light to highlight any imperfections easily missed by the naked eye.
Sanding Disk Maintenance
Regular maintenance of your sanding disk is essential for prolonging the life of your random orbital sander. Some suggestions for proper sanding disk care are:
- Remove and clean the sanding pad after each use.
- Replace sanding disks promptly if they are worn or damaged.
- Store sanding disks in a dry, cool area away from direct sunlight.
By following these tips, you will ensure optimum performance from your sanding disks and device.
Cleaning Up the Workspace
Lastly, it is crucial to clean your workspace after sanding. Here are some key steps:
- Vacuum the area using a shop vacuum or a vacuum cleaner with a hose attachment to remove larger dust particles.
- Wipe the work surface and surrounding areas with a damp cloth to remove any remaining dust.
- Dispose of used sanding disks according to local regulations and guidelines for waste disposal.
By keeping your workspace clean, you will not only protect your health but also preserve the quality of your future projects.
Troubleshooting Common Issues
In this section, we will discuss some common issues that users may encounter while using a random orbital sander and provide solutions to overcome these problems.
Sander Vibrations
Excessive sander vibrations can make it difficult to control the tool and may result in an uneven finish. To reduce vibrations, consider the following suggestions:
- Check the sanding pad for damage or wear. Replace it if necessary.
- Ensure the sandpaper is properly attached and secured to the pad.
- Make sure the sander is well-maintained and cleaned regularly.
Uneven Sanding
Achieving a smooth, even surface is the ultimate goal when using a random orbital sander. However, uneven sanding can occur due to various reasons. To prevent this issue:
- Use the correct grit of sandpaper for the specific task.
- Apply even pressure while sanding and avoid pressing down too hard.
- Maintain a consistent sanding speed and move the sander in a systematic pattern.
Note: It’s essential to keep the sander flat on the surface and not tilt it, as this may cause scratches or gouges in the material.
Sander Pad Problems
Sander pad issues can cause poor performance and damage your workpiece. Some common sander pad problems are:
- Worn or damaged pads: Inspect your pad regularly and replace it if needed. A worn-out pad can cause scratches or decrease the overall efficiency of the sander.
- Wrong pad type: Ensure you are using the correct type of pad for the sandpaper and material you are working on. Different materials may require specific pad types to achieve the desired result.
By addressing these common issues, users can ensure their random orbital sander performs efficiently and provides an optimal finish to their projects.
Maintaining Your Random Orbital Sander
Regular Cleaning
To keep your random orbital sander in optimal condition, it is essential to clean it regularly. After every sanding session, remove the dust collection bag or vacuum attachment and empty it. For a more thorough cleaning, follow these steps:
- Unplug the sander: Always disconnect the power source before cleaning or making adjustments to prevent accidental injury.
- Remove the sanding pad: Detach the sanding pad, and clean the pad as well as the pad’s attachment area.
- Inspect the pad and the base: Check for any wear on the pad and the base. Replace them if necessary, as described in the Replacing Parts section.
- Clean the sander body: Use a soft brush or compressed air to remove debris and dust from the sander body and vents.
Regular cleaning not only prevents the build-up of dust and debris but also ensures the sander operates efficiently.
Replacing Parts
Over time, parts of a random orbital sander may wear out or break. To maintain its performance, remember to:
- Replace sanding pads: Worn-out or damaged sanding pads can cause uneven finishes. Check pads after each use and replace when needed.
- Check motor brushes: The motor brushes wear out with use, eventually leading to motor failure if not replaced. Most manufacturers recommend replacing brushes every 50-60 hours of use. Refer to your sander’s user manual for brush inspection and replacement instructions.
- Inspect the power cord: Look for any damage or fraying on the power cord. Replace it immediately if damage is detected.
By replacing parts in a timely manner, you can prolong the life and efficiency of the sander.
Storage Recommendations
Proper storage is crucial to maintaining the longevity and functionality of your random orbital sander. Consider the following best practices:
- Keep it dry: Store the sander in a dry and well-ventilated area. Moisture can cause damage to components and lead to rust.
- Store it securely: Ensure the sander is stable and secure in its storage location. Avoid piling heavy objects on top of the sander to prevent damage.
- Cover it: Protect the sander from dust, debris, and moisture by using a cover or storing it in a designated case.
By following these storage recommendations, your random orbital sander is more likely to remain in good working condition for many projects to come.
Frequently Asked Questions – How to Use Random Orbital Sanders
What safety precautions should be taken when using a random orbital sander?
When using a random orbital sander, it is important to wear proper gear and attire to prevent injury or irritation. This includes wearing a mask that forms a tight seal around the nose and mouth, as these sanders generate significant amounts of dust, even with a vacuum attached source. Eye protection and hearing protection are also essential.
How do you correctly operate a random orbital sander for woodworking projects?
To correctly operate a random orbital sander for woodworking projects, follow these basic steps:
- Choose the appropriate grit sandpaper for the task.
- Attach the sandpaper to the sander, ensuring it is properly aligned.
- Turn on the sander and let it reach full speed before making contact with the workpiece.
- Move the sander back and forth in a slow, controlled motion, allowing the tool to do the work without applying excessive pressure.
- Keep the sander flat on the work surface, avoiding tilting or rocking it.
What are the ideal settings for a random orbital sander when working on different materials?
The ideal settings for a random orbital sander will depend on the specific material and the desired finish. In general, use a lower speed setting when working with softer materials or when looking for a finer finish. Higher speed settings are better suited for more aggressive material removal and working with harder materials.
Can a random orbital sander be used on drywall, and if so, how?
Yes, a random orbital sander can be used on drywall. It is important to use the appropriate grit sandpaper and utilize a lower speed setting to prevent damaging the drywall surface. Additionally, attaching a vacuum to the sander will help minimize dust during the sanding process.
Is it necessary to apply pressure when using a random orbital sander?
Applying excessive pressure when using a random orbital sander is not necessary and can result in uneven surfaces or damaged workpieces. Instead, allow the tool to do the work and move it back and forth with a slow, controlled motion.
What is the distinction between a random orbital sander and a regular orbital sander?
The primary difference between a random orbital sander and a regular orbital sander is the movement of the sanding pad. A random orbital sander moves in a circular orbit while also spinning, which creates a random pattern of scratches and results in a smoother finish source. A regular orbital sander, on the other hand, moves in a single, circular orbit and is more likely to leave visible sanding marks.


Leave a Reply