If you are an artistic individual and you intend to spray paint your house, you will want a touch of creativity and ingenuity on your walls. For many homeowners, painting walls will give the interior of a home an exquisite look. This is the reason individuals try different colors and paints to realize an elegant look. Since spray painting is an art, mediums have been developed to allow you to do every form of painting hassle-free. But with these mediums, it is consequential you learn the basic rules of spray painting techniques.
Spray painting is an efficient and versatile method for applying paint to a variety of surfaces, offering a smooth and even finish that is difficult to achieve with traditional brushes or rollers. For beginners, learning the proper techniques for spray painting is essential to ensure the best possible results and minimize common issues such as drips, runs, and uneven coverage. This article will provide an overview of spray painting techniques for beginners and review the equipment for those new to the art of spray painting, setting you on the path to mastering this useful skill.
Contents
- 1 Understanding Spray Painting Equipment
- 2 Spray Painting Preparation
- 3 Basic Spray Painting Techniques
- 4 Advanced Techniques for Better Results
- 5 Troubleshooting Common Spray Painting Issues
- 6 Cleaning and Maintenance
- 7 Unleashing Your Creativity with Spray Paint Art
- 8 The Origins and Evolution of Spray Paint Art
- 9 Materials Needed for Spray Paint Art
- 10 Basic Techniques in Spray Paint Art
- 11 Tips for Success in Spray Paint Art
- 12 FAQ’s
- 12.1 What are some basic spray painting techniques for beginners?
- 12.2 How do I avoid drips and runs when spray painting?
- 12.3 What is the best distance to hold the spray paint gun from the surface?
- 12.4 How can I control overspray when using a paint sprayer?
- 12.5 How do I choose the right spray pattern for my project?
- 12.6 What is the best type of paint for spray painting beginners?
- 12.7 How do I choose the right spray paint gun for a beginner?
- 12.8 How do I prevent drips and runs when spray painting?
- 12.9 How do I achieve even coverage with spray paint?
- 12.10 How can I improve my spray painting skills as a beginner?
- 12.11 Conclusion
Understanding Spray Painting Equipment

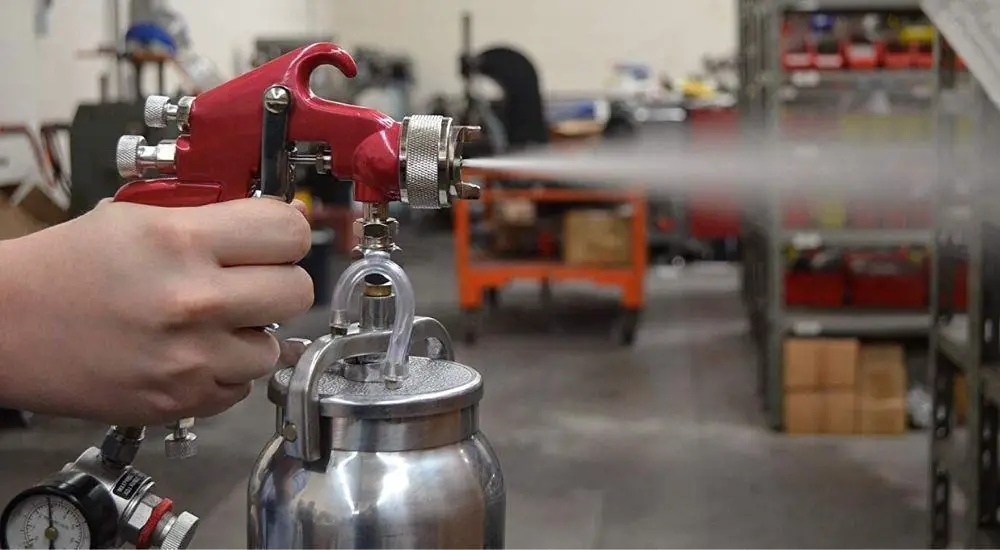
Before diving into spray painting techniques, it’s essential to familiarize yourself with the different types of paint sprayers available and choose the right one for your project. There are three main types of paint sprayers, each with its own unique features and benefits:
Airless Paint Sprayers
Airless paint sprayers use high pressure to atomize the spray paint, creating a fine mist that is applied to the surface. These sprayers are ideal for large-scale projects, such as painting walls, fences, and decks, as they provide fast coverage and a smooth finish. The high pressure can also help the spray paint penetrate textured surfaces, ensuring an even coat. However, airless sprayers can produce more overspray than other types of sprayers, so proper masking and surface preparation are essential.
HVLP (High Volume Low Pressure) Paint Sprayers
HVLP paint sprayers use a low-pressure air stream to deliver the paint, providing greater control and precision with less overspray. These sprayers are ideal for smaller projects, such as painting furniture or trim, where a smooth and even finish is desired. They are also an excellent choice for beginners, as the lower pressure allows for easier control and minimizes the risk of drips and runs. However, HVLP sprayers may not be suitable for thick or heavily textured surfaces, as the low-pressure can struggle to provide adequate coverage.
Pneumatic Paint Sprayers
Pneumatic paint sprayers rely on an air compressor to atomize the paint, creating a fine mist that is applied to the surface. These sprayers are suitable for automotive and industrial applications, as they offer a high level of control and precision. Pneumatic sprayers also tend to be more affordable than other types of sprayers, making them an attractive option for budget-conscious users. However, the need for an air compressor can make these sprayers less portable and more cumbersome to set up and use.
Understanding the capabilities and limitations of each type of sprayer will help you make an informed decision and ensure that you have the right equipment for your specific needs. Additionally, it’s essential to invest in quality spray painting equipment, as cheaper models may not provide the level of control and precision needed for professional-looking results.
Spray Painting Preparation
Choosing the Right Paint and Thinning It Properly
Selecting the appropriate paint for your project is crucial, as different surfaces and finishes require specific types of paint. For most projects, high-quality acrylic or enamel paints are suitable, offering excellent durability and a smooth finish. Oil-based paints can also be used but may take longer to dry and emit more fumes. Before using your paint, you’ll need to thin it according to the manufacturer’s recommendations to ensure proper flow through the sprayer. Most paint sprayers come with guidelines for thinning, and some even include a viscosity cup to help you achieve the correct consistency. If you’re unsure about the proper thinning ratio, consult the paint manufacturer or the sprayer’s manual for guidance.
Surface Preparation and Priming
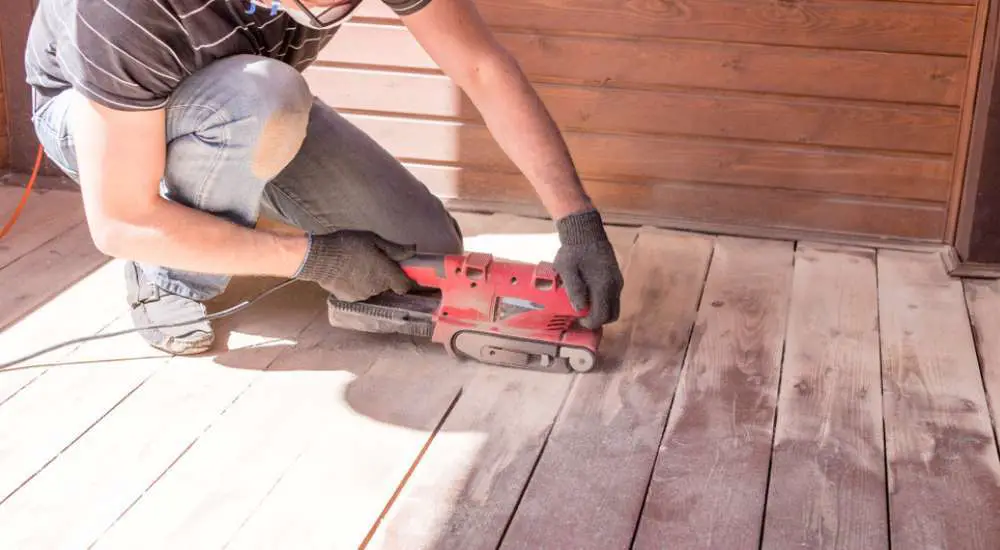
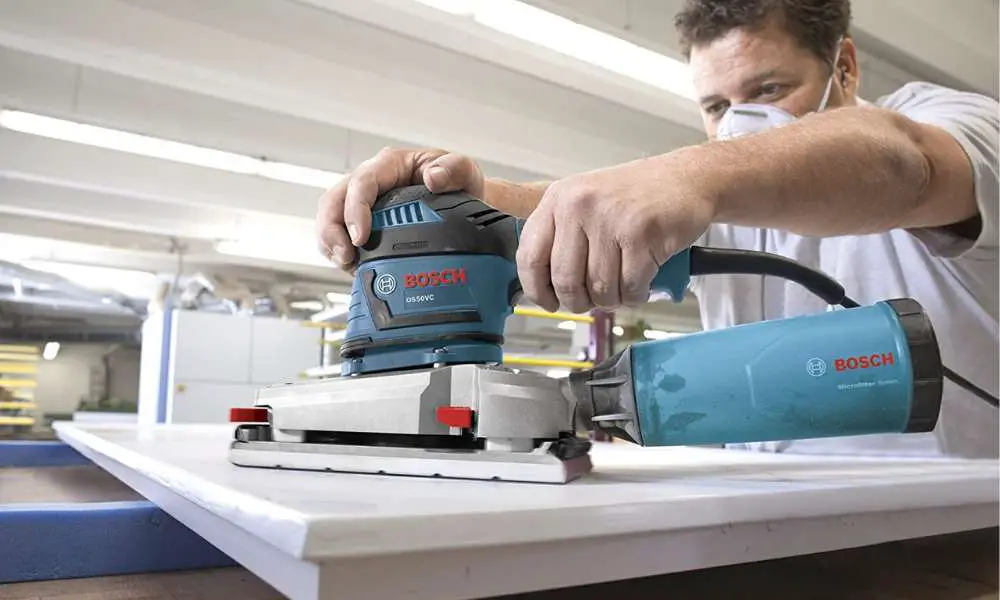
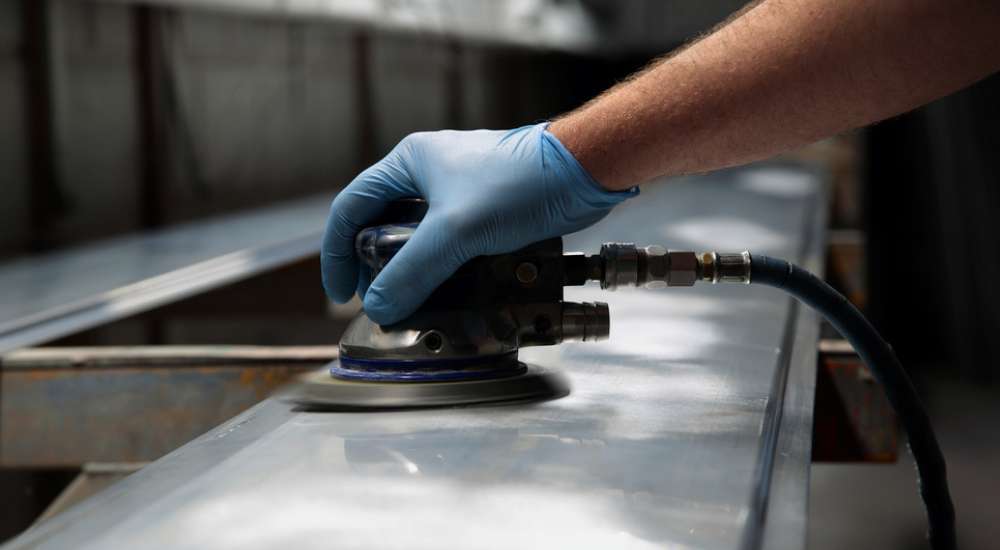
Proper surface preparation is essential for achieving a smooth, even finish and promoting proper paint adhesion. Begin by cleaning the surface to remove any dirt, dust, or grease that could interfere with the paint’s ability to adhere. Next, sand the surface using fine-grit sandpaper to create a smooth, even texture and remove any previous paint or coatings. If needed, fill any holes or imperfections with a suitable filler and sand them down once dry. Finally, apply a coat of primer designed for the specific surface and paint you’re using. Priming not only helps the paint adhere better but also improves coverage and durability.
Masking and Protecting Surrounding Areas
Before you start spray painting, it’s important to mask off and protect any surrounding areas that you don’t want to be painted, as well as cover nearby objects to prevent damage from overspray. Use painter’s tape and plastic sheeting or drop cloths to cover nearby surfaces, such as windows, doors, or trim. Be sure to press the tape down firmly to create a tight seal, preventing paint from seeping underneath. Additionally, remove or cover any hardware or fixtures, such as handles or hinges, to keep them paint-free.
Basic Spray Painting Techniques
Proper Distance and Angle for Spray Painting
When spray painting, it’s essential to maintain a consistent distance from the surface, typically around 10-12 inches. Holding the sprayer too close can cause drips and runs, while holding it too far away may result in uneven coverage. Additionally, maintain a 90-degree angle to the surface to ensure an even coat without streaks or gaps. Adjusting the angle can cause overspray or uneven coverage, leading to an unprofessional appearance.
Maintaining a Consistent Speed and Motion
As you spray, move at a steady speed, keeping the sprayer in motion to avoid paint buildup and drips. A consistent pace helps to ensure even coverage and prevents the paint from pooling in one area, which can lead to runs and an uneven finish. If you’re new to spray painting, practice on a scrap piece of material to get a feel for the proper speed and motion before starting your project.
Overlapping and Using Multiple Coats
When spray painting, use a 50% overlapping pattern, where each pass of the sprayer covers half of the previous pass. This technique ensures even coverage without gaps or streaks and helps to create a smooth, professional-looking finish. Instead of applying one heavy coat of paint, apply multiple light coats, allowing each coat to dry according to the manufacturer’s recommendations before applying the next one. This method helps to prevent runs and drips and provides a more durable and attractive finish.
Advanced Techniques for Better Results
Using Spray Patterns Effectively
As you become more comfortable with spray painting, experiment with different spray patterns to enhance your results further. Most paint sprayers allow you to adjust the spray pattern, affecting the coverage and finish of your project. Familiarizing yourself with how different spray patterns impact the outcome will enable you to adapt your technique for specific surfaces or desired results. This knowledge will help you achieve a higher level of control and precision in your projects.
Understanding Paint Flow and Viscosity
Mastering paint flow and viscosity is crucial for achieving a smooth and even finish. The paint’s viscosity determines how easily it flows through the sprayer and onto the surface, while the flow rate affects the amount of paint being applied. Thinning your paint according to the manufacturer’s guidelines will ensure the correct viscosity, while adjusting the flow rate on your sprayer will help you maintain an appropriate amount of paint for your project. Balancing these factors is key to achieving professional-looking results.
Adjusting Pressure and Spray Settings
Adjusting the pressure and spray settings on your paint sprayer can significantly impact the finish of your project. Higher pressure can result in more overspray and a rougher finish, while lower pressure can lead to insufficient coverage. Experiment with different pressure settings and spray tips to find the perfect balance for your specific project. As you gain experience, you’ll become more adept at making these adjustments and achieving the desired results.
Troubleshooting Common Spray Painting Issues
Drips, runs, and sags can occur when too much paint is applied or if the sprayer is held too close to the surface. To avoid these issues, maintain a consistent distance from the surface and move at a steady speed. Apply lighter coats, allowing each coat to dry before applying the next one. By practicing these techniques, you’ll minimize the risk of drips and runs, resulting in a smoother, more professional-looking finish.
Orange peel texture, which resembles the surface of an orange, is a common issue that can result from improper paint thinning or incorrect spray settings. To prevent orange peel, ensure that your paint is thinned according to the manufacturer’s guidelines and adjust your spray settings as needed. Proper surface preparation, such as cleaning and sanding, can also help minimize the risk of orange peel texture. By taking these steps, you’ll achieve a smoother, more attractive finish.
Uneven coverage and poor adhesion can result from insufficient surface preparation or using the wrong type of paint. To address these issues, ensure that the surface is properly cleaned, sanded, and primed before painting. Additionally, choose the appropriate paint for the specific surface and finish you’re working with. By following these best practices, you’ll improve the quality and appearance of your spray-painted projects.
Cleaning and Maintenance
Properly cleaning your spray painting equipment is crucial for ensuring its longevity and maintaining optimal performance. After each use, follow the manufacturer’s instructions for cleaning your specific paint sprayer model. This process typically involves flushing the system with a suitable cleaning solution, such as water for water-based paints or mineral spirits for oil-based paints. Disassemble the spray gun and clean any removable components, ensuring that all paint residue is removed. By regularly cleaning your equipment, you’ll prevent clogs and maintain the efficiency of your sprayer.
When not in use, store your paint sprayer and accessories in a cool, dry place, away from extreme temperatures and moisture. Keep all components organized and protected, using storage bags or cases if provided with your sprayer. Proper storage will help prevent damage and ensure that your equipment is ready for use when you need it.
Regular maintenance is essential for keeping your spray painting equipment in optimal condition. Inspect your equipment before each use, checking for any signs of wear or damage. Replace any worn or damaged parts, such as seals or filters, as needed. Additionally, lubricate moving parts as recommended by the manufacturer to reduce friction and prolong the life of your sprayer. By taking the time to maintain your equipment, you’ll ensure consistent performance and extend its lifespan.
Unleashing Your Creativity with Spray Paint Art
Spray paint art is a unique and versatile medium that allows artists to create stunning visual effects on various surfaces. From street art and murals to canvas paintings, this form of art has grown in popularity and has evolved into a respected art form. This article will provide an overview of spray paint art, discuss the materials and techniques involved, and offer tips for those looking to explore this fascinating medium.
The Origins and Evolution of Spray Paint Art
Spray paint art has its roots in the graffiti and street art movements that emerged in the late 20th century. As artists began experimenting with spray paint, they discovered its potential for creating intricate and eye-catching designs. Over time, spray paint art has evolved to include a range of styles, from realistic landscapes to abstract compositions. Today, spray paint art is recognized as a legitimate art form, with many talented artists showcasing their work in galleries and exhibitions.
Materials Needed for Spray Paint Art
To get started with spray paint art, you’ll need a few basic materials:
- Spray Paint: Choose high-quality spray paint that is suitable for the surface you’ll be working on. Acrylic-based spray paint is a popular choice due to its quick drying time, low odor, and ease of use.
- Surface: You can create spray paint art on various surfaces, including canvas, wood, metal, and even glass. Make sure the surface is clean and properly prepared before painting.
- Protective Gear: Spray paint can produce fumes and particles that can be harmful if inhaled. Wear a mask, goggles, and gloves to protect yourself while working.
- Drop Cloth or Tarp: Use a drop cloth or tarp to protect the surrounding area from paint overspray.
- Stencils, Masking Tape, and Paper: These materials can be used to create shapes, patterns, and textures in your artwork.
- Paint Brushes and Palette Knives: While not strictly necessary, these tools can help you add fine details and texture to your spray paint art.
Basic Techniques in Spray Paint Art
- Surface Preparation: Before starting your spray paint art project, ensure that the surface is clean, dry, and free of dust or debris. If necessary, prime the surface with a suitable primer to ensure proper paint adhesion.
- Shake the Can: Before using spray paint, shake the can well for at least one minute to mix the paint and ensure a smooth, even application.
- Test Spray: Before applying paint to your artwork, test the spray on a scrap piece of material or cardboard. This will help you get a feel for the paint’s flow and consistency.
- Spray Techniques: Hold the spray paint can about 10-12 inches away from the surface and apply paint using smooth, even strokes. Move your arm in a continuous motion, overlapping each stroke slightly to avoid gaps and streaks.
- Layering: Build up your artwork using layers of paint. Allow each layer to dry before applying the next one. This will help you achieve depth and dimension in your art.
- Stencils and Masking: Use stencils, masking tape, or paper to create crisp lines and intricate designs in your artwork. Apply paint over the stencil or mask, then remove it carefully to reveal the design.
- Texturing: Experiment with different tools and techniques to create texture in your spray paint art. You can use a paintbrush, palette knife, or even your fingers to manipulate the paint and add visual interest to your piece.
Tips for Success in Spray Paint Art
Practice Makes Perfect: As with any art form, practice is essential for improving your spray paint art skills. Experiment with different techniques, surfaces, and types of spray paint to find your preferred style and methods. By working on various projects, you will gain valuable experience that will help you hone your abilities and create more polished and refined artwork. Don’t be afraid to make mistakes; these are opportunities to learn and grow as an artist. Remember, mastering spray paint art takes time, dedication, and patience.
Stay Inspired and Creative: One of the keys to success in spray paint art is maintaining your creative spark and staying inspired. Continually seek out new ideas, techniques, and styles to incorporate into your work. Draw inspiration from other artists, nature, or your surroundings to create unique and original pieces. Experiment with new color combinations, textures, and forms to push the boundaries of your artistic expression. By staying open to new experiences and embracing your creativity, you will find greater satisfaction and success in your spray paint art journey.
FAQ’s
What are some basic spray painting techniques for beginners?
Answer: Some basic spray painting techniques for beginners include:
-
- Holding the sprayer at a consistent distance from the surface, typically 10-12 inches
- Maintaining a steady speed and motion while spraying
- Using a 50% overlapping pattern to ensure even coverage
- Applying multiple light coats rather than a single heavy coat to prevent drips and runs
- Practicing on scrap material before starting your project to get a feel for the equipment and technique
How do I avoid drips and runs when spray painting?
Answer: To avoid drips and runs when spray painting, follow these tips:
-
-
- Apply multiple light coats instead of a single heavy coat
- Maintain a consistent distance from the surface while spraying
- Move at a steady speed to prevent paint from accumulating in one area
- Keep the sprayer in motion, starting and stopping the spray off the surface
- Ensure your paint is properly thinned and mixed, as per the manufacturer’s recommendations
-
What is the best distance to hold the spray paint gun from the surface?
Answer: The ideal distance to hold a spray paint gun from the surface is typically between 10 and 12 inches. However, this distance may vary depending on the specific equipment you are using and the type of paint. Always refer to the manufacturer’s guidelines for the best results and practice on a scrap piece of material to find the optimal distance for your project.
How can I control overspray when using a paint sprayer?
Answer: To control overspray when using a paint sprayer, follow these tips:
-
- Use proper masking techniques to cover and protect areas you don’t want to paint
- Adjust the spray settings on your equipment, such as pressure and spray pattern, for better control
- Hold the sprayer at the correct distance from the surface and maintain a steady speed
- Spray in a controlled, overlapping pattern to minimize overspray and improve coverage
- Choose a low-pressure sprayer, such as an HVLP (High Volume Low Pressure) sprayer, which is designed to reduce overspray
How do I choose the right spray pattern for my project?
Answer: Choosing the right spray pattern for your project depends on several factors, including the size and shape of the surface you’re painting, the type of paint you’re using, and the desired finish. Most paint sprayers have adjustable spray patterns, such as vertical, horizontal, or circular patterns. For larger, flat surfaces, a horizontal or vertical pattern is usually most effective, while a circular pattern may be better for smaller or more detailed work. Test the spray patterns on a scrap piece of material to determine which one provides the best coverage and finish for your specific project.
What is the best type of paint for spray painting beginners?
Answer: For beginners, acrylic or water-based paints are recommended, as they are easy to work with, dry quickly, and produce fewer fumes compared to oil-based paints. These paints also offer excellent durability and a smooth finish, making them suitable for various projects.
How do I choose the right spray paint gun for a beginner?
Answer: When selecting a spray paint gun for a beginner, consider factors such as ease of use, adjustability, and cleaning requirements. HVLP (high volume, low pressure) sprayers are a popular choice for beginners due to their efficiency, reduced overspray, and user-friendly features. Additionally, choose a sprayer with adjustable settings, such as spray pattern and pressure, allowing you to experiment and find the optimal settings for your projects.
How do I prevent drips and runs when spray painting?
Answer: To prevent drips and runs, maintain a consistent distance of about 10-12 inches from the surface while spray painting. Move at a steady speed, keeping the sprayer in motion to avoid paint buildup. Apply lighter coats, allowing each coat to dry before applying the next one.
How do I achieve even coverage with spray paint?
Answer: Achieving even coverage involves proper surface preparation, maintaining a consistent distance and angle while spraying, and using a 50% overlapping pattern. Ensure the surface is clean, sanded, and primed before painting. Hold the sprayer at a 90-degree angle to the surface, and overlap each pass by 50% to ensure full coverage without gaps or streaks.
How can I improve my spray painting skills as a beginner?
Answer: To improve your spray painting skills, practice on scrap material to get a feel for the proper speed, distance, and motion. Experiment with different spray patterns, paint types, and settings to find what works best for you. As you become more comfortable with the process, try more advanced techniques and learn how to troubleshoot common spray painting issues. With dedication and practice, you’ll master the art of spray painting and achieve impressive results.
Conclusion
Mastering the art of spray painting involves understanding the different types of paint sprayers, preparing your surface and workspace, and practicing basic spray painting techniques. As you become more experienced, you can experiment with advanced techniques and learn how to troubleshoot common spray painting issues. Regular cleaning and maintenance will keep your equipment in optimal condition, allowing you to achieve professional-looking results with every project.
Spray painting is a valuable skill that can save you time and effort while providing a smooth, even finish on a variety of surfaces. As with any skill, practice is key to mastering spray painting techniques. Don’t be afraid to experiment with different spray patterns, paint types, and settings to find what works best for you. With dedication and practice, you’ll become proficient in spray painting and achieve impressive results with every project.


Leave a Reply