When I want to make metal smooth or get it ready for painting, sanding is an important step. To sand metal, I use sandpaper or a sanding tool to remove rough spots, old paint, or rust and create a clean, even surface. This process helps to improve how the metal looks and makes paint or finish stick better.

Sanding metal might seem simple, but it’s important to choose the right sandpaper, use proper technique, and pay attention to safety. With the right tools and steps, I can make even rough or old metal look and feel new again.
In this post, I will show how I sand metal and share tips that help me get the best results each time.
Contents
Essential Tools and Materials

When sanding metal, I always start by gathering the best tools and supplies for the job. Proper equipment not only gives better results but also helps me work safely and efficiently.
Choosing the Right Sandpaper
I select sandpaper based on the type of metal and how rough or smooth I want the surface. Grit ratings tell me how coarse or fine the sandpaper is. Lower numbers like 40 or 60 grit are for heavy rust, paint, or rough surfaces. Higher numbers like 220, 320, or even up to 600 grit are for smoothing and finishing.
For metal projects, I use sandpaper made for metal, such as aluminum oxide or silicon carbide. These types last longer and cut better. I also make sure to check whether I need sheets, sanding sponges, or rolls, depending on whether I am working by hand or with a power tool.
Here’s a simple grit guide I follow:
| Grit Number | Use |
|---|---|
| 40–80 | Removing heavy rust or paint |
| 100–150 | Smoothing rough metal |
| 180–240 | Prepping for painting |
| 320+ | Final finishing and polishing |
Selecting Power vs. Hand Tools
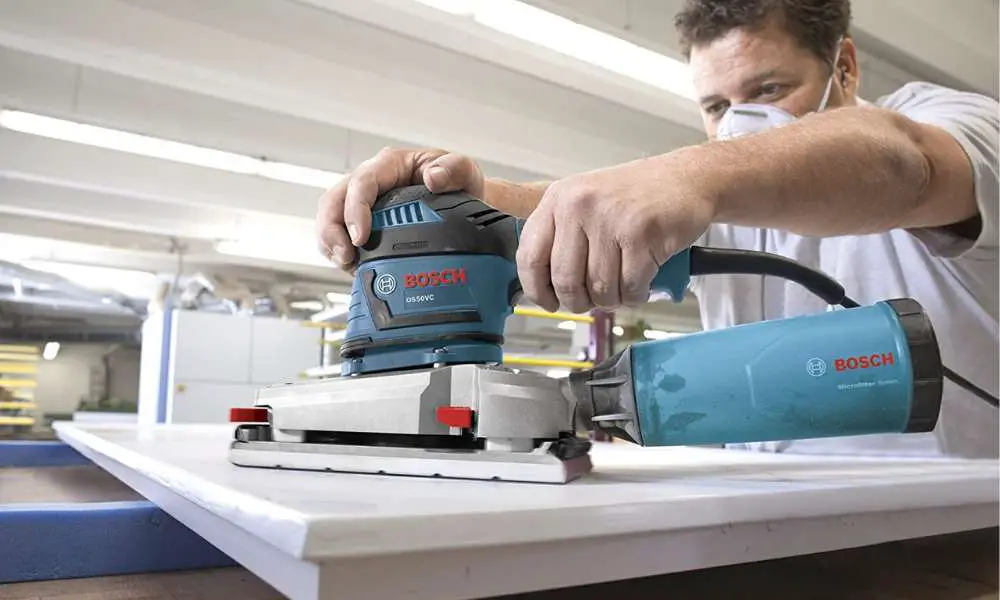
When I sand larger areas or want to save time, I often use power tools. Orbital sanders and angle grinders can speed up the work and deliver even results. For smaller jobs or curved surfaces, I prefer sanding blocks or hand sanding, which gives me more control.
I choose tools based on the size and detail of the project. Power tools are best for flat or large surfaces, but hand tools help me get into corners or shape metal with more accuracy.
Here are some commonly used tools:
- Orbital sander: Good for even sanding on flat metal.
- Angle grinder: Removes paint or rust fast but must be used carefully.
- Sanding block: Useful for detail work and curved edges.
- Wire brush: Helpful for cleaning before sanding.
Personal Protective Equipment
Safety is always my top priority. When sanding metal, I wear protective gear to avoid dust and sharp fragments. I always choose safety glasses or goggles to protect my eyes.
A dust mask or respirator helps keep metal dust out of my lungs, especially if I sand for long periods or use power tools. I also wear work gloves to prevent cuts and burns from hot surfaces or sharp edges.
Other useful items include:
- Ear protection: When using noisy tools
- Long sleeves and pants: To protect my skin
Cleaning Supplies for Preparation
Before I begin sanding, I prepare the metal surface to get the best results. I use a wire brush or a soft cloth to remove loose dirt, oil, and debris. For greasy or oily parts, I apply a degreasing cleaner and make sure to wipe it dry.
Having clean surfaces helps the sandpaper last longer and work better. I also keep a brush or compressed air canister handy to remove dust between steps. This gives me a smoother finish and prevents grit from scratching the metal.
Preparation Before Sanding

Before sanding metal, I focus on cleaning the surface, removing old coatings, and checking for damage. Each step affects the final finish and helps me avoid problems during sanding and afterwards.
Surface Cleaning Methods
I always start by getting rid of dirt, grease, and loose debris. If there’s oil or sticky substances, I use a degreaser or rubbing alcohol with a clean, lint-free cloth.
For stubborn grime, I sometimes wash the surface with warm soapy water, rinse it well, and let it dry completely. Any leftover moisture can lead to rust, so I make sure the surface is totally dry.
If the metal is covered in dust, a soft brush or a vacuum works best. I avoid using steel wool unless needed, since small metal fibers can get left behind and may cause rust later.
Removing Rust and Old Paint
When I see any rust spots or old paint, I remove them before sanding. Light rust is often handled with medium-grit sandpaper or a wire brush. For heavier rust or thick paint, I use a paint stripper or a rust remover gel, following all safety instructions.
Tools I find effective:
- Wire brushes
- Paint scrapers
- Sanding blocks
- Chemical removers
After applying remover or scraping, I wipe the metal with a damp cloth and dry it right away. Chemical residue can affect sanding and finishing, so I double-check for any leftover traces.
Inspecting Metal for Damage
Next, I inspect the entire surface for dents, deep scratches, or cracks. I pay extra attention to corners and welded joints, as those are weak spots that can hide damage.
Small dents can often be hammered flat with a rubber mallet, using a block of wood to protect the surface. If I find cracks, I don’t sand until I repair them, since sanding can make tiny cracks worse.
If the metal shows pitting or holes, I fill them with a metal filler and let it cure following the product’s guidelines. Checking for hidden problems helps ensure a smooth and safe sanding process.
Sanding Techniques for Metal

Proper sanding is necessary for removing rough edges, smoothing surfaces, and preparing metal for finishing. Each technique serves a different need, from controlling the amount of material removed to handling delicate or stubborn surfaces.
Manual Sanding Methods
When I need to sand metal by hand, I usually start with coarse grit sandpaper, like 80 or 120, to remove heavy rust or paint. I wrap the sandpaper around a sanding block for flat areas or use my fingers for curved sections. It’s important to follow the grain of the metal when possible to avoid scratches.
For smaller or detailed parts, files and sanding sponges provide greater control. I use gentle, even pressure to avoid gouging the metal. If the metal gets too hot, I let it cool before continuing. After the rough sanding, I switch to finer grits, such as 220 or 400, to smooth the surface.
When sanding manually, I pay close attention to corners and edges where buildup can occur. Consistent movement and regular sandpaper changes help maintain a uniform finish.
Using Power Sanders
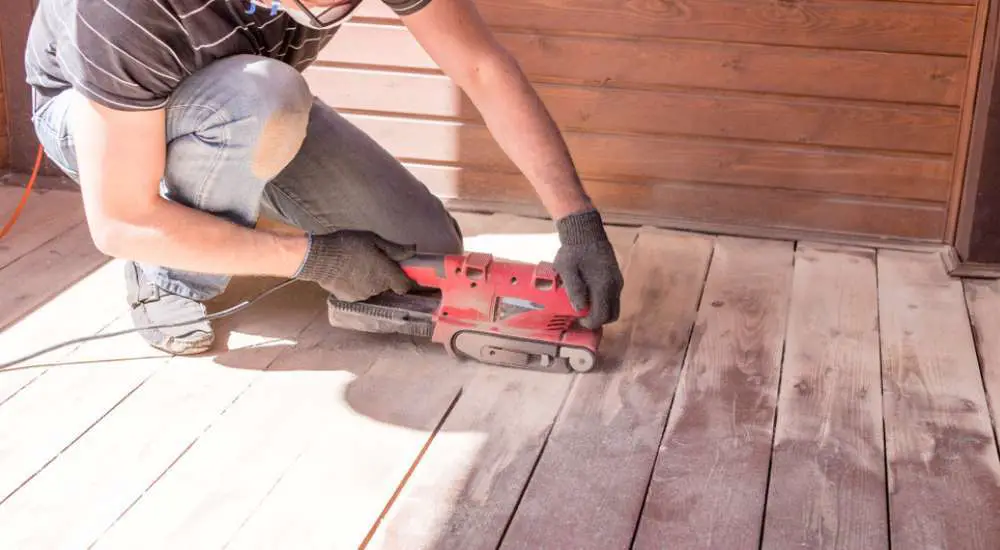
I often use power sanders when I have large metal surfaces to work with or need to speed up the sanding process. Belt sanders, random orbital sanders, and angle grinders each have their strengths. Belt sanders remove material quickly, while orbital sanders help achieve a smoother finish without deep scratches.
Before using a power sander, I always secure the metal piece to prevent it from moving. I choose sanding discs or belts matched to the material, starting with a coarse grit and moving to finer options for a polished result.
I avoid pressing down too hard to prevent overheating or warping the metal. Safety is important, so I wear goggles and a mask to protect myself from dust and metal particles. Regularly checking for evenness helps me avoid creating low spots.
Wet vs. Dry Sanding
Wet sanding involves adding water or another lubricant to the sanding process, while dry sanding is done without any liquid. I use wet sanding mostly for fine finishing or when trying to minimize dust. Water helps carry away particles and keeps the metal cooler.
When wet sanding, I select sandpaper specifically designed for wet use, as not all types will hold up. I dip the sandpaper in water often and wipe the surface clean as I go. This method reduces scratching and produces a smoother shine, especially before painting or polishing.
Dry sanding is faster and good for rough shaping or when initial paint and rust removal is needed. However, it creates more dust and can heat the metal quickly. I always decide between wet and dry sanding based on my project’s needs, using proper safety protection in both cases.
Finishing and Surface Treatments

After sanding metal, I need to properly finish the surface. This boosts appearance, prevents rust, and can even improve durability. Each finishing method I use serves a specific purpose for the look and protection of the metal.
Polishing for a Smooth Finish
When I want the metal to look smooth and shiny, I polish it. I start by choosing a fine-grit sandpaper or polishing compound made for metals like aluminum, brass, or steel. I wipe the surface clean first to remove any dust, since leftover grit can scratch the finish.
I use circular motions with a polishing pad or cloth, working across the entire piece. If the area is large, I sometimes use a mechanical polisher to save time. For best results, I make sure every pass overlaps with the last. I usually repeat this process several times, using finer compounds until I get the shine I want.
Sometimes, I finish by wiping it with a microfiber cloth to remove any residue. The polished surface should feel smooth when I touch it, and have a reflective, clean appearance.
Protective Coatings and Sealants
After sanding and polishing, I need to protect the metal to keep it from tarnishing or rusting. The type of metal tells me which coating to use. On steel, I might use paint, enamel, or a clear polyurethane spray. For aluminum, I often use anodizing or a clear coat.
I make sure the metal is totally clean and dry before I add a coating. If I’m applying spray paint or sealant, I use even, light coats to avoid drips. Avoiding heavy buildup is important. Some metals need a primer before the final coating for better grip.
For high-humidity areas, I often use corrosion-resistant products. Here’s a quick list of common options:
- Clear lacquer: Adds shine, protects from moisture
- Polyurethane: Strong, flexible finish for steel or iron
- Wax: Quick, easy protection for indoor items
Buffing Metal Surfaces
Buffing gives a metal surface a final, mirror-like finish. I use a soft buffing wheel and a buffing compound matched to the metal type. I hold the wheel lightly against the metal, never pushing too hard, or I risk leaving marks.
As I work, I keep the wheel moving to avoid overheating one spot. This step brings out the maximum shine and smoothness. For small pieces, I use a soft buffing cloth by hand, always turning the piece to polish every angle.
Buffing can also remove tiny scratches left from earlier sanding or polishing. When I’m done, the metal should show a uniform gloss and feel very smooth. I finish by wiping off any leftover compound with a clean, soft cloth.
Safety Considerations and Best Practices
When I sand metal, I always make safety a priority. I use proper ventilation, handle any hazardous materials with care, and dispose of waste correctly to protect myself and the environment.
Ventilation During Sanding
Sanding metal can produce fine dust and fumes, especially if I am using power tools or working with treated or coated metals. Inhaling these particles can lead to breathing problems or other health issues. To prevent this, I work in a well-ventilated space. I often use a fan or open windows to help airflow.
When possible, I wear a mask or respirator rated for dust and metal particles. For indoor work, I might add a portable air filtration system. If I’m working with coated or painted metal, I pay extra attention, as some coatings can release dangerous fumes when sanded.
Here is a quick checklist I use:
- Open windows and doors
- Use a fan to circulate air
- Wear a dust mask or respirator
- Clean up dust regularly
Handling Hazardous Materials
Sometimes, sanding metal means coming into contact with hazardous substances, such as lead paint, rust inhibitors, or chemical coatings. I never sand painted metal without knowing what the paint contains. Some old paints have lead or other toxic chemicals.
Before I begin, I put on gloves and eye protection to keep dust and debris out of my eyes and off my skin. For any unfamiliar material, I read the Safety Data Sheet (SDS) to understand the risks. If I need to, I use special equipment or protective clothing.
I avoid eating, drinking, or touching my face while sanding, so I don’t accidentally ingest anything harmful.
Proper Disposal of Waste
Metal dust, used sandpaper, and any paint chips or residue are often considered hazardous waste. I never sweep or blow dust out into the open air or down drains. Instead, I collect all waste material in a sealed container.
If I sanded coated or painted metal, I check local regulations for hazardous waste disposal. Many areas have special drop-off sites for metal and chemical waste. I label any bags or bins I use for waste to avoid confusion.
When finished, I always wash my hands and clean my work area, making sure no residue is left behind. Proper disposal helps protect both me and the environment from harmful exposure.


Leave a Reply