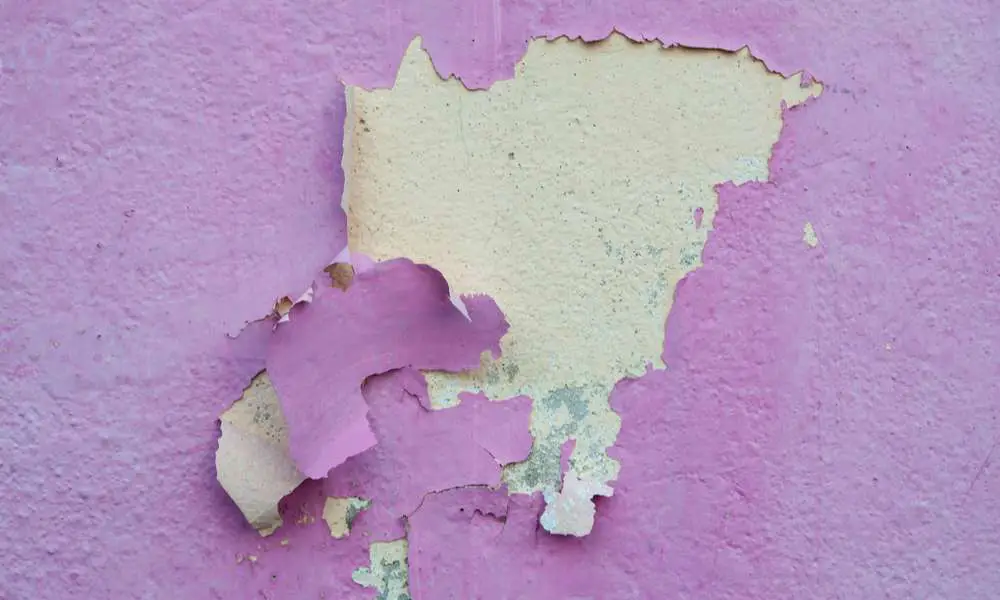
For whatever reason, you may want to do away with the paint from your concrete wall. So what next? Where do you start? What do you need? Because concretes are porous, paints are often used to do away with their natural grey color. Better still, paints allow you to have your desired colors and patterns, they give your room a perfect ambience and completes your home in every aspect.
However, as time goes by, you may notice that the paint has started to fade or you are no longer interested in that paint color. In other cases, you might have found a better option, therefore, necessitating the need to remove the paint from your concrete.
In this article, I will take you through the process of how to remove paint from concrete walls. I understand the process can be tedious, stressful and confusing. However, having removed paint from my house’s concrete several times, I believe I am in a perfect position to walk you through it.
Contents
What You Will Need
Just like any other DIY project, you will need proper equipment and materials to make your work easier. You will need:
• A bucket• Paint scraper• Vacuum cleaner or a broom together with a dustpan• Power washer• Worn out cloths• Water-based paint stripper• Oil-based stripper• Paint thinner• Dishwashing liquid• Protective gears• Hose pipe• Wire scrub brush• A paint brush• Water• Turpentine/ mineral spirit
Step 1 : Prepare the Concrete
Preparation is very important because it allows you to go about your project easily and efficiently. When removing paint from concrete, prepare the surface by washing it clean. Put some water (warm water preferably) in a bucket, mix it with water then use an old cloth to wash the surface. If there is some tough debris on the concrete, use a scrub brush to get rid of them.
After washing the surface clean, give it some time to dry. While at it, it is important to have your protective gears on. They include hand gloves, safety goggles, safety boots and an overall.
Step 2 : Apply a Paint Stripper
If the paint was old or worn out, chances are some of it might have peeled off during the preparation stage. Using a paint stripper, turpentine or mineral spirit, apply it on your surface and let it sit for about 30 minutes to 1 hour. When applying the paint stripper, make sure the conditions are right. For instance, you should never apply a paint stripper when the environment is extremely hot or when the wind is blowing hard. These conditions make the stripper dry prematurely.
Step 3 : Scrub Your Surface
Using a wide-wire brush, scrub the concrete to remove the concrete. If you used the right paint stripper, you should be able to scrub off most of the paint. For concrete with latex paint, using soapy water or turpentine should do the trick. However, if your paint is oil based, you will have to use an oil-based stripper. Either way, you should be able to remove most of the paint by scrubbing.
Step 4 : Power Wash
After scrubbing with a hard brush, use a high-powered garden hose or any other type of power washer that you may have to remove the remaining stains.
Step 5 : Repeat the Process
Some paints are very stubborn! After scrubbing and power washing, you may realize that there still remains some stains on your concrete. Fortunately, the hard part would have been down. Now you just have to focus on the affected areas only.
Restart the process from stage 2. Apply a paint stripper, let it sit for some time, then scrub the affected area using a hard wire brush. Focus on the tough stains and keep reapplying the paint stripper if need be. Finally, use a power washer to power wash your surface. Repeat the process until you attain your desired results.
Step 6 : Rinse Your Surface
After repeating the process severally and all the paint is gone, I usually sigh a sigh of relief! I know that the next step is a walk in the park and the results will be satisfying. Normally, I use water mixed with a cleaning detergent to wash the surface then rinse with plenty of clean water. Always allow your concrete to dry completely before you can think of your next step.
Are there Alternatives to Paint Strippers?
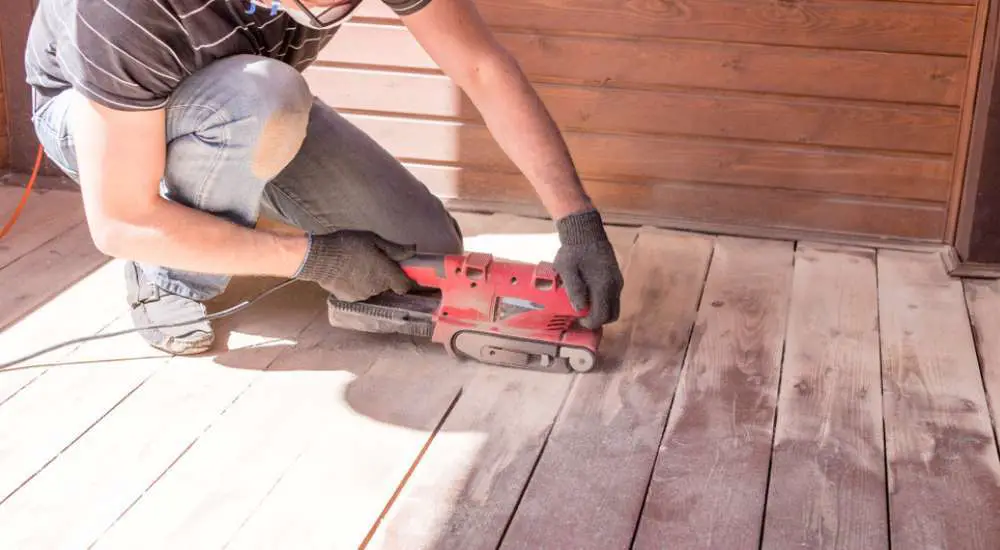
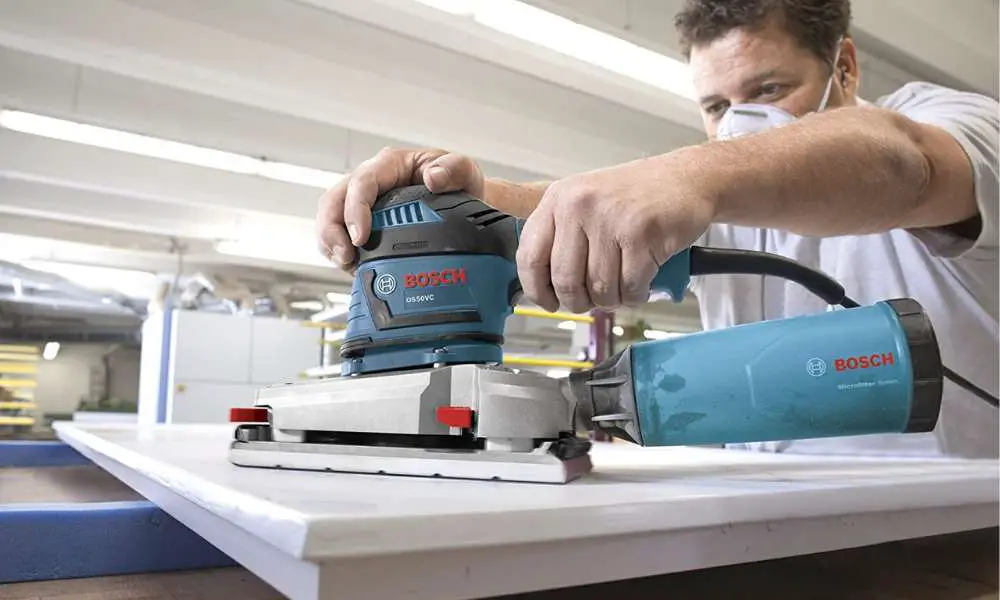
I understand that some people may be allergic to paint strippers or simply want to explore other options. Fortunately for you, there are plenty of alternative solutions. For instance, you can use an orbital sander to remove paint from your concrete. However, you should be prepared to put in the work!
Also, as opposed to using a paint stripper, you will generate a lot of dust and it is important for you to mask up before starting the project. This will save you from respiratory issues or allergic reactions.
Seek Professional Advice
In my experience, I prefer DIY because it allows me to learn new things and, of course, it saves me some money. However, even when I want to conduct a certain project alone, I always seek professional advice on the matter.
For instance, if you have never removed paint from concrete before, it is important to ask a professional to guide you and recommend the right tools and materials to use for your surface. You will realize that you will have learnt a lot of important things that you would have otherwise overlooked if you went all the way alone
You may like: Top 5 Best Heat Gun For Paint Removal in 2021
Conclusion
There comes a time when the paint on your concrete has to go! Whether it is because the paint no longer interests you or it has started to wear off, you need to follow some steps for you to get perfect results. After collecting the right tools and materials for the project, prepare the surface by washing it with water mixed with a cleaning detergent.
Apply a paint stripper on the wall then let it sit for about an hour then use a wired scrub brush to scrub the paint. Use a hose pipe to power wash the surface. Repeat the process until you get the perfect result then wash and rinse the surface. If the tutorial has been helpful, kindly leave a comment below.


Leave a Reply