Refinishing hardwood floors can make a home look cleaner and feel newer without replacing the entire floor. I sanded down the old finish, removed scratches, and applied a fresh finish to protect the wood and bring back its natural beauty. This process not only improves how the floor looks but also helps it last longer.

I’ve found that sanding and refinishing are jobs almost anyone can learn with the right tools and some patience. Whether you’re fixing a worn patch or updating the whole room, knowing the basic steps can save money and give you great results.
Contents
Understanding Hardwood Floors

When I prepare to sand and refinish hardwood floors, I need to know what type of wood I am working with and its current state. These details help me choose the right process, tools, and materials for the job.
Types Of Hardwood Flooring
I find there are two main types of hardwood flooring: solid hardwood and engineered hardwood.
Solid hardwood is made from a single piece of wood. It can be sanded and refinished many times because the wood layer is thick. Popular species include oak, maple, and cherry. Solid hardwood is usually nailed or stapled to a subfloor.
Engineered hardwood has a thin layer of hardwood on top of several layers of plywood. I can usually sand and refinish engineered wood only once or twice, depending on how thick the hardwood layer is. This type is often installed with a click-lock system or glued down.
Here is a quick comparison:
| Feature | Solid Hardwood | Engineered Hardwood |
|---|---|---|
| Construction | Single wood piece | Plywood core, wood top |
| Sand/Refinish Cycles | Multiple | 1-2 |
| Common Installation | Nail/staple | Glue, floating |
I always check which type I have to avoid damaging the floor during sanding.
Identifying Flooring Condition
Before I start sanding, I look at the current condition of the floors. I check for deep scratches, stains, worn finish, and any loose boards.
If the wood is heavily worn or has deep gouges, I know I need to sand more deeply. Light scratches or surface wear may only need light sanding.
I also look for signs of water damage, warping, or boards that move underfoot. Any loose nails or boards must be secured before sanding.
If old floors have already been sanded in the past, I measure how much wood is left. I do not sand engineered flooring if the top layer is too thin—doing so could ruin the floor.
Identifying trouble spots early lets me plan repairs and keeps the sanding job safe and effective.
Tools And Materials Needed

I always make sure I have the right equipment and protective gear before sanding and refinishing hardwood floors. The process is much smoother and safer when I stay organized and use reliable tools.
Essential Equipment
For sanding, I use a floor sander to handle large areas and a smaller edge sander for corners and edges. I find that a random-orbit sander is helpful for more precise work around room borders or tight spots. I always have a vacuum cleaner or shop vac nearby to remove dust as I go.
Below is a quick list of what I gather before I start:
- Floor sander (drum or orbital)
- Edge sander
- Sandpaper (various grits: coarse, medium, fine)
- Vacuum or shop vac
- Plastic sheeting (for protecting nearby spaces)
- Tack cloths (to wipe away dust)
I make sure I have stain and polyurethane for the finishing step, along with brushes or rollers for application. Clean rags are useful for wiping off excess stain.
Safety Gear Requirements
Safety is important to me when I work on the floors. I always wear a dust mask or respirator to avoid breathing in fine dust, which can be harmful over time. I also use hearing protection because sanders are loud and can damage my hearing with long use.
My safety gear includes:
- Dust mask or respirator
- Safety goggles to protect my eyes from dust and debris
- Hearing protection (such as earmuffs or earplugs)
- Knee pads if I expect to work on the floor for long periods
- Work gloves to protect my hands, especially when handling rough sandpaper or moving equipment
I make sure the work area has enough ventilation, especially when applying stains or finishes, to reduce fumes and keep the space safe.
Preparation Of The Work Area

Getting the work area ready prevents accidents and damage. Taking specific steps helps me complete the sanding and refinishing process safely and makes the job easier.
Clearing Furniture And Obstacles
First, I remove all the furniture from the room. Large items like sofas and tables can scratch the floor if dragged, so I always lift them or use furniture sliders. Sometimes, I also take out rugs, lamps, and any plants.
It’s important to clear the walls in case dust settles there. I also remove anything hanging on the walls, like framed pictures or clocks. Outlets and vents should be uncovered to allow good airflow during the process. This helps keep the work area organized and safer.
Cleaning And Inspection
I start by thoroughly sweeping the floor. Even small amounts of dust or debris can cause scratches when I start sanding. After sweeping, I vacuum to make sure every bit of dirt is gone. I look closely for any nails sticking up or loose floorboards.
Sticking nails can ruin the sanding machine, so I use a hammer to tap them down below the surface. If I see cracks or gaps in the wood, I mark those spots so I can fix them before finishing. Sometimes, I find spots with water damage or stains, which require extra attention.
Protecting Adjacent Surfaces
Before sanding, I cover nearby surfaces to protect them from dust. I use painter’s tape and thick plastic sheets to seal off doors and vents. It is important that I make these barriers tight so fine dust does not escape to other rooms.
For baseboards and molding, I carefully run tape along the edge where they meet the floor. This keeps finish and dust from damaging these areas. If there are heating units, I cover them too, since sanding dust can affect their performance.
I also make sure windows are slightly open to improve ventilation. Good airflow helps remove fumes or dust that can build up during refinishing. I always check for any hazards before plugging in equipment.
Sanding Hardwood Floors

To get hardwood floors smooth, flat, and ready for finish, I need to choose the right sandpaper, use proper sanding equipment, cover both edges and main areas, and address any flaws. Each step helps ensure the floor looks good and holds up well after refinishing.
Choosing The Right Sandpaper Grit
Picking the correct sandpaper grit keeps floors from getting scratched or left too rough. I start with coarse grits, like 36 or 40, which remove the old finish and even out the surface. For most hardwood floors, this is necessary if the surface is worn or uneven.
After the first pass, I switch to a medium grit, such as 60 or 80. This smooths out marks left by the coarse grit and starts to close the wood grain. My last pass uses a fine grit, such as 100 or 120, to make the floor smooth and ready for staining or finishing.
Using the right sequence helps prevent swirl marks and gives a uniform appearance. Here is a simple breakdown:
| Pass | Sandpaper Grit |
|---|---|
| First | 36–40 |
| Second | 60–80 |
| Final | 100–120 |
I always make sure not to skip grits, as this can leave visible scratches that won’t hide under the finish.
Operating Floor Sanders
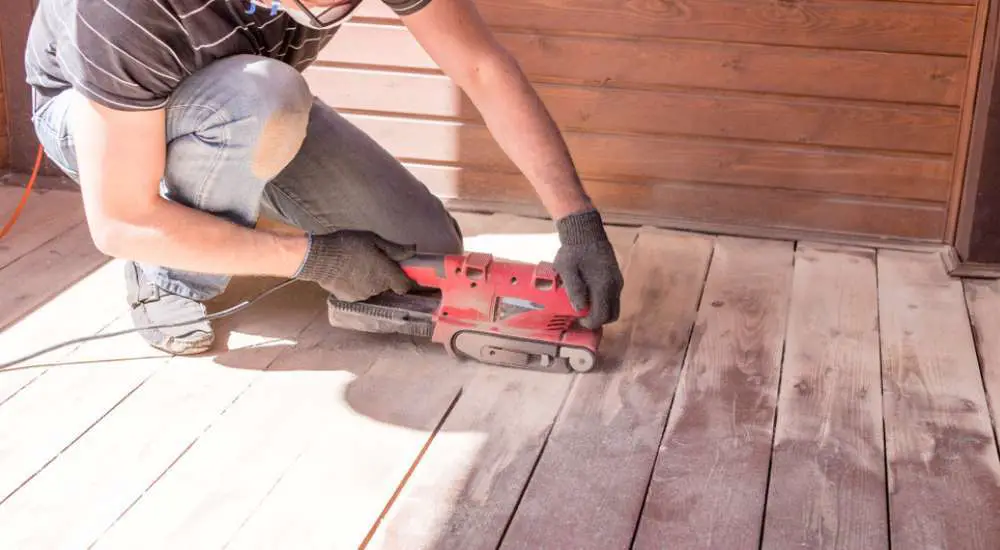
Effective sanding depends on good handling of the floor sanders. I use a drum sander or a belt sander for the main surface. Before starting, I test the machine in a small area to get used to its speed and pressure. It’s important to keep the sander moving at all times. If I stay in one spot too long, I can sand unevenly or gouge the wood.
I work in small sections, moving with the grain and overlapping each path slightly. For each grit, I vacuum the floor to remove dust before changing to the next finer sandpaper. I also inspect the sandpaper frequently and replace it when worn.
Wearing ear and eye protection helps keep me safe. If using a rental sander, I check it’s in good working condition before starting.
Edge Sanding Techniques
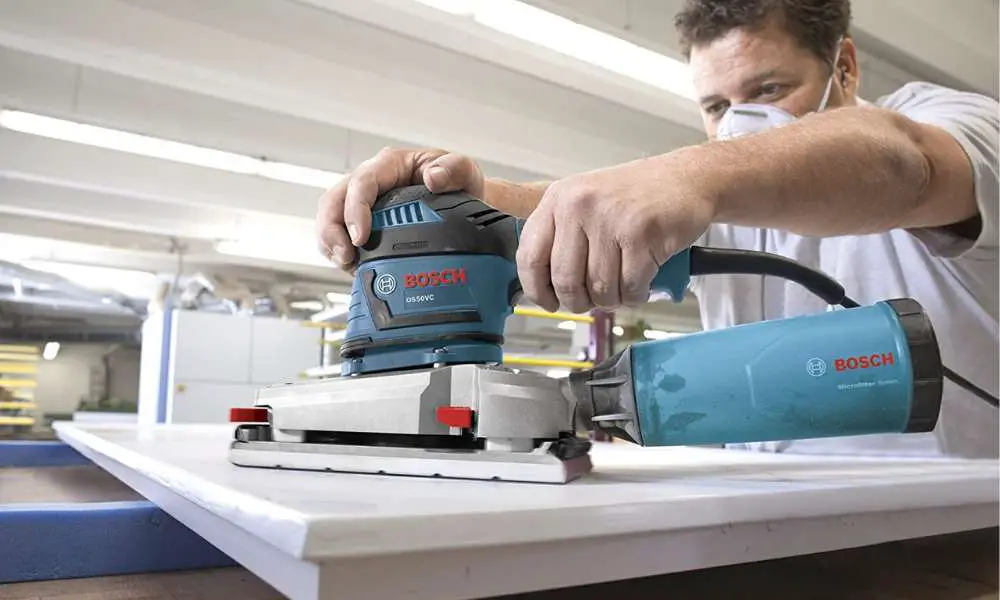
Edges and corners need a different sander, such as an edger or a hand-held random orbit sander. I use the same grit progression as on the main floor, starting with a coarse grit and moving finer with each pass.
I hold the edge sander steady and move slowly, blending the sanded edges with the main field. To match the finish, I feather the edges by easing the pressure as I move away from the walls toward the main floor.
Corners can require hand sanding with a sanding block or special corner tool. Dust can collect quickly in these areas, so I vacuum and wipe them clean regularly to prevent particles from scratching the floor.
Dealing With Floor Imperfections
Wood floors often have dents, stains, or old repairs that show up more during sanding. If I find deep scratches or gouges, I spot-treat with wood filler. I fill holes and let the filler dry fully before sanding flush to the floor.
For darker stains, extra sanding might help, but for very deep water stains or pet marks, I may not remove them completely without taking off too much wood. In these cases, I consider using a darker stain during finishing to help blend the spot.
I pay close attention to any loose boards or squeaks. If needed, I secure boards with finishing nails before I continue sanding. This helps avoid damage to the sanding equipment and ensures a solid surface for the new finish.
Finishing And Sealing Techniques
Choosing the right finishing technique protects wood floors from damage and highlights their natural look. The process involves selecting a finish, applying stains or sealers, and allowing proper drying times.
Selecting A Finish
When I select a finish, I consider the wood type, use of the room, and my desired appearance. Common options include polyurethane (oil-based and water-based), penetrating oil finishes, and wax.
| Finish Type | Durability | Appearance | Odor |
|---|---|---|---|
| Oil-Based Poly | Very durable | Warm, amber tone | Strong |
| Water-Based Poly | Durable | Clear, natural look | Mild |
| Penetrating Oil | Moderate | Matte, natural feel | Light |
| Wax | Least durable | Soft sheen | Low |
I often use water-based polyurethane for its low odor and fast drying. Oil-based polyurethane gives more warmth but takes longer to cure. For a natural look, I prefer penetrating oil. Wax finishes are less common today because they need frequent maintenance.
Applying Stains And Sealers
If I want to change the wood’s color, I apply a stain before sealing. Oil-based stains give deep color and smooth blending. Water-based stains offer brighter colors but dry fast, so I have to work in small areas.
I use a clean rag or applicator to apply the stain with the grain of the wood. Too much stain can soak unevenly, so I wipe off the excess right away. Once the stain dries, I move on to apply the sealer.
Sealers such as shellac, sanding sealer, or the first coat of polyurethane help lock in color and block moisture. I make sure the floor is clean and dust-free before sealing. Sometimes, two thin coats work better than one thick coat.
Drying And Curing Times
Drying and curing times depend on the products I use and the room temperature. Water-based polys usually dry in 2-4 hours per coat, while oil-based polys may take 8-12 hours. Curing can take up to a week for water-based or a full month for oil-based options.
After each coat, I give the finish enough time to dry before sanding lightly and applying the next layer. I avoid walking on the floor until the surface feels dry to the touch. Heavy furniture or rugs should only go back once the finish has cured completely.
Proper airing speeds up drying and prevents strong odors. I open windows and use fans if possible, but I avoid exposing the wet finish to dust or direct sunlight. Time and patience at this stage ensure a smooth, long-lasting result.
Post-Refinishing Care
After refinishing my hardwood floors, I want to make sure the surface stays clean and protected. Proper care starts with gentle cleaning and continues with careful maintenance.
Initial Cleaning After Refinishing
Once the finish has dried, I wait at least 24 to 48 hours before walking on the floor. For heavy furniture or rugs, I allow a week or more. The finish needs time to fully harden to avoid dents or marks.
I use a soft broom or a dry microfiber mop to remove dust. For any spots, I dampen a cloth with plain water, never soaking the floor. I avoid harsh cleaners or anything with ammonia, which can harm the new finish.
If I must use a vacuum, I make sure it has a hardwood floor setting, with no beater bar. This prevents scratches. On high-traffic spots, I check for any debris that could cause damage when stepped on.
Ongoing Maintenance Tips
To keep my floors looking good, I set a routine. I sweep or dry mop daily and use a hardwood-safe cleaner once a week. I avoid letting water sit on the surface, since moisture causes warping.
I use felt pads under furniture legs to stop scratches. I also place mats at entryways to catch dirt and grit. When moving furniture, I lift it instead of dragging to prevent gouges.
Every few months, I inspect for scratches or dull areas. If I find minor damage, I use a touch-up marker that matches my floor. For bigger problems, I contact a professional rather than trying to fix it myself.
Troubleshooting Common Issues
I often see problems arise during sanding and finishing hardwood floors. Knowing how to handle these issues helps me get better results and avoid long-term damage.
Fixing Sanding Mistakes
When I spot sanding marks or uneven spots, I first identify where the problem is. Swirl marks, scratches, and missed areas often happen if I rush or use the wrong grit sandpaper. If I see deep scratches, I usually need to resand that area, starting with a coarser grit and then slowly working up to a finer grit.
Edges and corners are common problem spots because floor sanders can miss them. I fix these with a hand sander or sanding block, making sure to blend the area so it matches the rest of the floor. If the wood looks uneven or I spot dips from sanding too much in one spot, I feather the edges when I resand. Always vacuum and wipe away dust before I move on to finishing.
Quick Tips:
- Check for missed spots under bright light.
- Use the right grit for each sanding stage.
- Wear a dust mask for safety.
Repairing Finish Problems
Problems can show up after applying a finish, such as streaks, bubbles, or an uneven appearance. If I see bubbles, I usually have stirred the finish too much or worked in a dusty space. To fix this, I lightly sand the problem area with fine sandpaper once the finish dries, then recoat gently.
If I notice uneven color or shiny and dull patches, it may be from poor sanding or not cleaning the surface well. I spot-sand these areas and wipe down the floor to remove all dust and residue before touching up the finish. For oil or resin bleeding from knots, I sand the area and may use a sealer designed to block stains before recoating.
Common Finish Issues and Fixes
| Problem | Cause | How I Fix It |
|---|---|---|
| Bubbles | Over-stirred finish | Lightly sand, reapply thinly |
| Uneven Sheen | Poor surface prep | Clean, sand lightly, and recoat |
| Sticky Spots | Too much finish | Sand off excess, allow to dry |


Leave a Reply