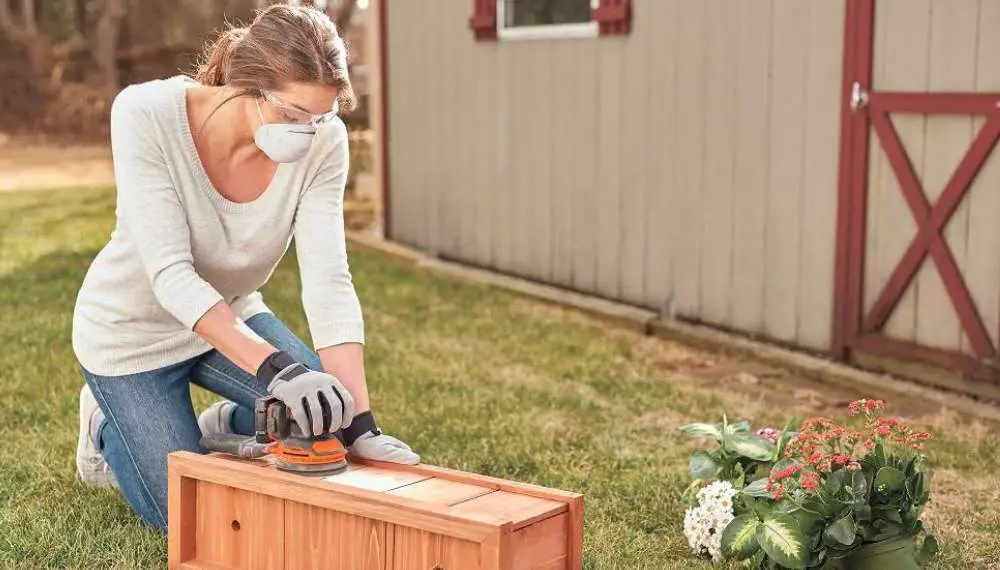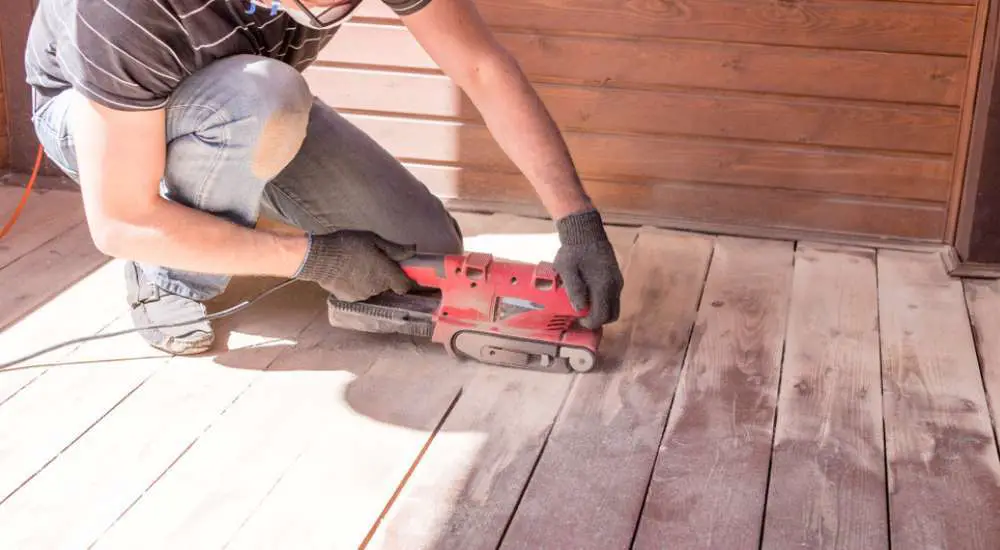
Homeowners need to learn how to sand wood furniture. Note that professional sanding is an integral part of refinishing your wood furniture. If you are looking for a professional finish, you must learn the proper sanding technique.What most people don’t know is that the quality of your finish will depend on the amount of care during sanding. You must, therefore, know all the basics before you start working on your first project. Luckily, we are here to help.
Contents
How to sand wood furniture
Sanding Technique
Let us start by talking about the fundamental rule of sanding wood furniture; always work with the grain. Note that cross-grain sanding will leave obvious scratches and marks that will affect the quality of your finish.
Secondly, using a sanding block is the best way of ensuring that you exert even pressure during the process. The good news is that sanding blocks are readily available at a pocket-friendly price. You won’t need to break the bank to purchase a high-quality sanding block.
However, understand that an unpadded sanding block may scratch the surface because it has no give. You are better off working with a padded sanding block, especially when working on flat surfaces. Use a sponge or foam padding when working with curves to give you a more even pressure. The good news is that learning a suitable sanding technique is easy. Use long even strokes along the grain of your furniture to get a smooth and consistent finish. However, don’t press too hard because you might damage the wood. You must also change your sandpaper immediately when it wears or clogs.
For a thorough and smooth sanding, use finer sandpaper as the work progresses. Understand that the first sandpaper will leave a little bit of roughness. The smooth grade of sandpaper will help remove any roughness that is left by the previous sandpaper.
Start sanding using coarse-grit sandpaper to ensure you get a professional finish. Start with a grade 3/0 for most of the furniture and a grade 4/0 for softwoods such as poplar or pine. Work your way slowly through grades 5/0 and finally grade 6/0 until you get a consistent finish.
However, note that finer-grit sandpaper will always give you a smoother finish. Do not use too fine sandpaper because it can interfere with your finish or clog the wood. The extra-fine sandpaper is commonly used by professionals on specific projects.
Ensure you sand the entire surface of your sandpaper with the different grades of sandpaper. You must vacuum up or brush off all the debris after every sanding. Wipe the wood with a damp cloth and proceed to use the next grit sandpaper.
Use a sharp scrapper when dealing with tight corners to carefully shave off the wood. Note that scrappers need to be handle with a lot of care. You don’t want to leave scratches or gouges, which means that you can only use them when sanding isn’t possible.
Deal with Rounds, Spindles, and Rungs
Dealing with round parts can be somewhat difficult without the proper technique. Work on the legs, spindles, and narrow rungs using a narrow strip of the fine-grit sandpaper. Note that coarse-grit sandpaper can deform or flatten the round parts.
Cut the fine sandpaper into narrow strips before you start working on those round parts. Wrap one strip around the section and pull both ends back and forth until you get a smooth finish. Ensure you also work up and down to ensure you cover all the areas adequately. Change the angles while working to avoid deforming or flattening the parts.
Be very careful during this step to avoid leaving horizontal grooves in your furniture. Work slowly until the entire surface is well sanded. Ensure you don’t flatten the wood during the process. Press your sandpaper into the carving to get a more smooth and consistent finish.
Carvings
All carvings have to be treated with a lot of care. Note that coarse sanding will interfere with the lines and destroy your entire project. it would help if you only used fine-grit sandpaper during this step. Use the 5/0 or 6/0 sandpaper to strip and sand the carvings. Ensure you only use your hands to sand down all the carvings. Note that a sanding block will flatten the rounded surfaces of your furniture.
Curved Edges and Crevices
Crease a piece of sandpaper and ensure that it fits into the crevices. You must sand along the curved edges and crevices using slow and long strokes. However, ensure you keep an even pressure during the entire project.
Most beginners make the mistake of letting the sandpaper slip during the process. Understand that you might damage the woods if you don’t exercise a lot of caution. Sand along the curve when dealing with convex edges and press the sandpaper lightly using your fingers. Do not damage the edges and adjoining surfaces when working on the crevices.
Dealing with Veneered Furniture
Do you have a veneered piece of furniture? Well, understand that you need to be very careful during the sanding process. Note that the normal sanding technique could seriously damage the wood. The same is true for furniture made from fine patina. To get the best results, use fine-grit sandpaper. Use the 5/0 or 6/0 sandpapers and slowly work your way through the entire surface.
On very fine pieces of furniture, you can only sand using steel wool. Note that you will use a similar technique to someone with sandpaper. However, you will need to exercise more patience since it will take a little bit of time.
Start with a number 0 steel wool and slowly work through numbers 00 and 000 for a smoother finish. However, you can skip using the 0-steel work in instances when the surface is extra smooth. Ensure you vacuum off or brush off the area between the different grades. You will get a smooth and professional finish.
Why You Need To Raising the Grain
The grain will swell when you moisten the wood. Raising the grain will help you get a smooth and even surface. Note that you can use whatever liquid you have, but experts recommend using water. To prevent the problem of a raised grain after completing a furniture project, you need to raise the grain intentionally.
Raise the grain and then sand it down to ensure you have long-lasting pieces of furniture. Sponge the entire surface with water and wipe off all the excess liquid. Note that the wood has to be wet with no dry spots before you let it dry. However, do not over wet veneers because it could cause a bigger problem. The wood that holds such furniture together is water-soluble in most instances.
Use fine-grit sandpaper to sand down your furniture once it dry. Be very careful to avoid damaging the wood and compromising the finish of your project. Pay extra attention to ensure you don’t roughen the surfaces during the final touches.
Conclusion
You are now ready to begin your first project sanding furniture. Ensure you follow the guidelines above to guarantee a smooth and consistent finish. Use the different grades of sandpaper to help you complete a project quickly. It would help if you learned about the different sandpaper grades and how to use them effectively.


Leave a Reply